Backriveting stiffeners and riveting skeleton 2h
2h
March 16, 2022
Started riveting parts together: stiffeners to the skins and ribs to the spar.
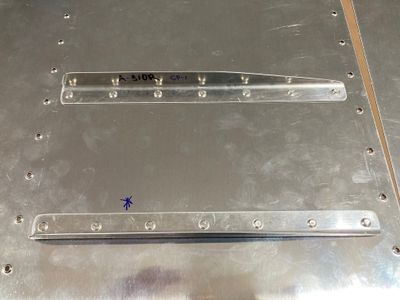
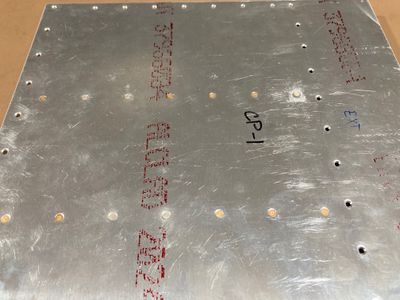
For stiffeners, I followed the suggested method of back riveting. It all went together really fast, but there were some issues.
According to the military specification (Table III) for rivets, rivet 3/32 shop head should fit in the following tolerances:
| Rivet Size | Minimum Diameter | Minimum Thickness | Maximum Thickness |
|---|---|---|---|
| 3/32 | 0.122 | 0.038 | 0.050 |
| 1/8 | 0.163 | 0.050 | 0.070 |
| 5/32 | 0.203 | 0.062 | 0.092 |
The results I got (for 3/32 rivet) were:
Rivethead diameter was ranging from .138" to .162" -- acceptable.
However, the head thickness was from .029" to .053" -- out of range. I don't think too thick of the head is necessary an issue, but .029" is too flat.
This happened probably due to the pressure being a bit too high. I should have stopped riveting after the first couple of rivets, but I was too captivated by the process! But also, most of them were acceptable. Borderline overdriven, but acceptable.
The intermediate result looks like this. Note that due to lighting, shop heads look way flatter than they are (I promise!).
I drilled out several rivets with #45 drill bit (slightly smaller than nominal size #40 so I have less risk of damaging the hole). #45 might be a tad too small, though, as sometimes the head does not easily break off.
There was another minor issue with back riveting. For some reason, sometimes it would leave the shop head with a little "spike" on a side as if "hammer head" from the rivet gun was not fully covering the shop head. I don't quite understand how it happens given that back rivet set "hammer head" rides in a sleeve so it should always be over the shop head, but somehow it does happen. I found that re-centering the back rivet set and giving it a gentle blow flattens this spike.
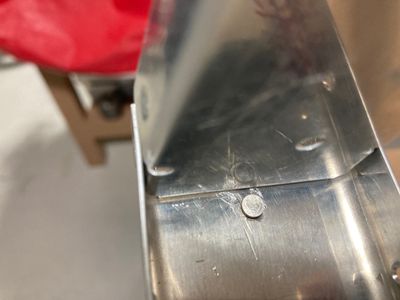
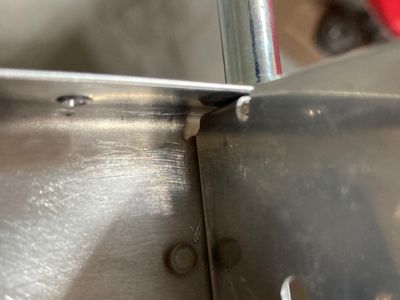
The next step was to assemble the skeleton. Well, I made one mistake there, too. All 10 universal head rivets could be squeezed by a pneumatic squeezer, which should give a very consistent result (for a newbie who has not mastered rivet gun yet!). However, I made a logistical mistake: I attached a rib before I squeezed the central rivet. Which made it impossible to squeeze it as it was too close to the rib. I tried driving the rivet with the rivet gun but wasn't able to hold the bucking bar just right. The last, third attempt was kind of okay, but I missed that I left a couple of deep scratches around the rivet.
Well, it was a good opportunity to train my rivet removal skill, so I decided to drill out both the central rivet and also two rivets holding the rib. This way I was able to sand all the scratches without rib getting into my way (there is still some minor scratch left, but it is relatively smooth) and then squeeze the central rivet.


