Unriveting apart 1h
1h
April 18, 2022
I decided to disassemble the first practice kit apart.
First, I don't have a good use for this section of a control surface. Second, it's a good practice on drilling out rivets. Finally, these parts could be good for learning how to spray primer -- they are sufficiently dirty, all scratched and everything is dimpled.
I used #44 drill bit for #3 rivets and #34 for #4 rivets. The overall procedure was to center punch the rivet, carefully drill it with an air drill, then pry the rivet head with a punch.
I found that using an air drill works better than an electrical drill: due to its faster speed, it more readily digs into a rivet head without too much pressure. I would start slow, make sure it drills exactly in the center (if not, I would tilt the drill to slightly "move" the initial dimple back to the center), then drill it about the depth of the head.
Sometimes, if the rivet was set too flat, the drill bit would go all the way through. If the hole was carefully centered, it would drill through the stem without damaging parts, so it wasn't an issue.
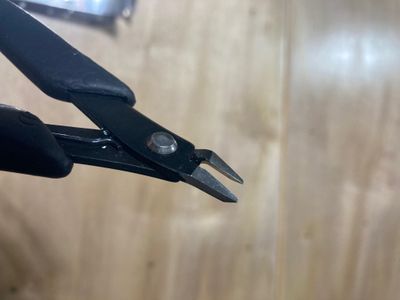
Sometimes head does not snap fully off (usually, this happened when the hole started a bit off-center), but then carefully prying the shop end with flat side cutters would usually break the head off and pull the shop side out.
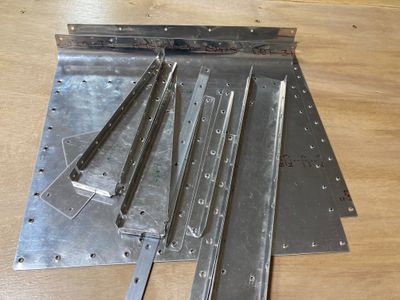
In a short time, it was all back to a pile of parts:


