Drilling the right elevator understructure 4h
4h
June 18, 2022
Today I spent some time working on the right elevator understructure.
The first step was to drill two ribs one to each other. However, I knew that this assembly is difficult to get all well aligned. The main issue is that holes on the counterweight skin are typically closer than what you get on two ribs clecoed one to another.
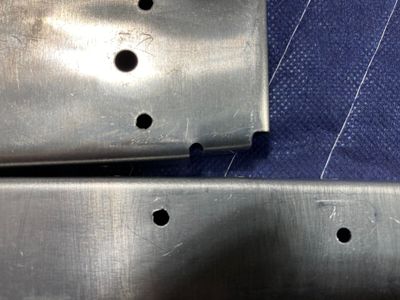
You can see in the photo below that holes don't align well.
The main reason for that is a little "hump" on both of the ribs that do not allow them to sit close to each other. I pushed this hump to the other side, with some persuasion with the mallet.
It is hard to see, but the holes are all aligned now.
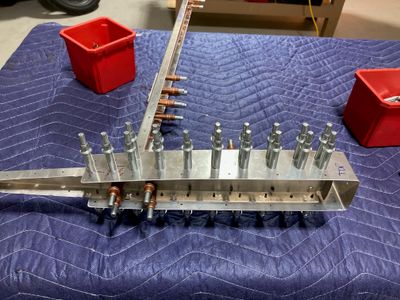
The whole assembly clecoed.
Then I proceeded with drilling #30 holes for the rivets attaching both ribs, and this is where I made a mistake. While I was using my reamer, I forgot I had a cleco on the other side, so the reamer hit the cleco and damaged the hole.
I am sure it is possible to repair it, but since I had two spare ribs (from the left elevator), I decided to re-order the parts (two of them are only about $20, plus shipping and handling). I hope I will get the replacement parts once I get to the left elevator.
So I repeated the whole process of fitting everything together and moved on to drilling the lead.
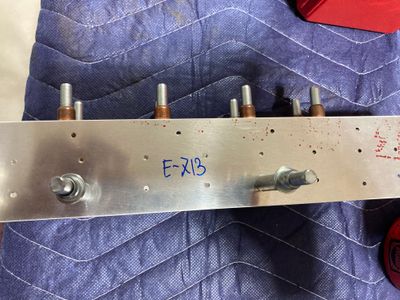
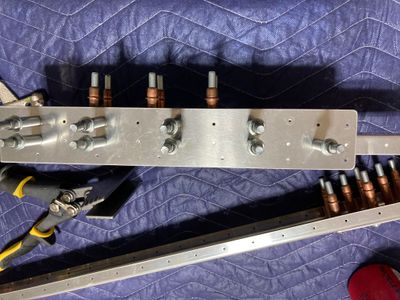
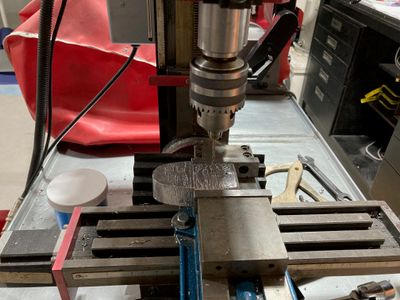
The plans suggest using a counterbalance skin as a guide to drill two #12 holes through the lead and into the flanges of both ribs. I did not like the idea to drill without knowing exactly where would I get my exit hole, so I marked the holes on the lead and drilled the #40 hole through it first, using my milling machine. Lead is very soft and grabs the drill bit a lot. I used a lot of lubrication, slow speed and feed. In addition, I partially locked the column on my mill such that it required some good pressure on the feeding lever to feed the drill bit (basically, you want that force to be higher than the "grabbing" force of the drill bit)
This is not a good technique as it wears the gibs on the Z-axis of the mill, but in a poorly equipped hobby shop, you do what you have to do. It worked well, and I had no issues drilling the hole (other than that I accidentally started drilling in my milling vise 🤦🏻♂️).
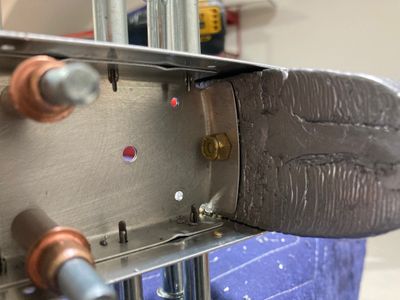
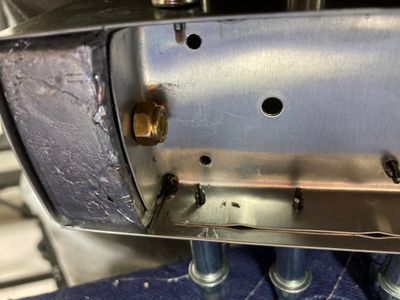
The idea of drilling #40 first was that if I won't get proper edge distance on the rib flanges, I would repair the lead somehow (maybe, pour lead back into the holes) and re-drill it. I used the #40 drill bit to mark the holes on the rib flanges through the holes on the counterweight, and they turned out to be fine. One hole looked just a little bit too close to the web of the rib, but I figured that nut will fit and I can sand a washer a bit to make it fit there.
Then I drilled with the #12 drill bit through all the parts. This I had to do with my electric drill, although, I did have a thought of drilling it on a milling machine instead. Drilling it manually was a pain as you have to feed very slowly, not letting it to grab. I had a concern that the hole would be not aligned with the pilot hole as the lead is so soft, but it turned out to be just fine.
The spacing looks good on both sides.
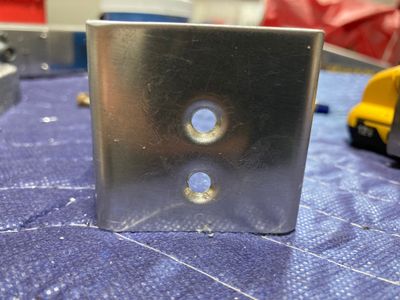
Finally, I dimpled the counterweight skin for the screws.
Another piece of work I did today was to deburr both elevator skins to prepare them for priming. For some reason, I decided to do it with the sandpaper, which took a lot of time. I used 320 grit first to do a rough deburring, removing the tool marks, then 400 grit to round the edges.
The next step is to prepare the stiffeners and the skins for the priming and prime them.
