Fabricating F-711B 3h
3h
September 21, 2022
Today I received my sheet aluminum order from Aircraft Spruce, so it was time to fabricate a replacement bulkhead.
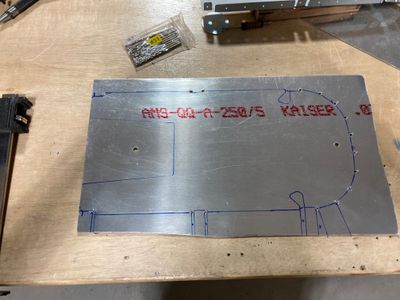
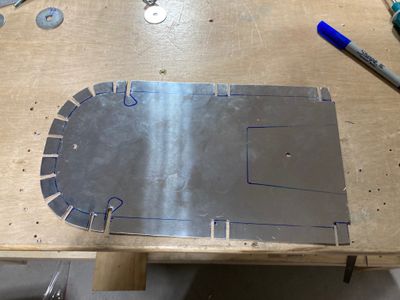
First, I marked the material for the bulkhead. I knew the washer trick to mark the outline on the aluminum, but the biggest washer I had would provide a bit less distance than required (I need the flaps to be ~0.625" high). So I eye-balled the cut.
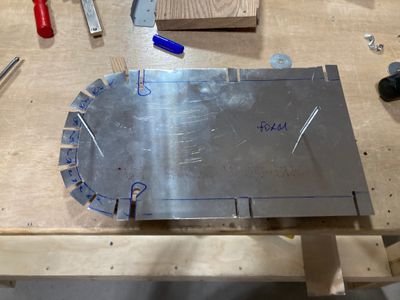
I drilled the #31 holes at the root of each flap (to help with the bending) and cut the slots using my sheet metal snips. Since those were a bit awkward to use, I left a lot of material in these slots. It took me quite some time to use the file to open the slots to the desired dimensions.
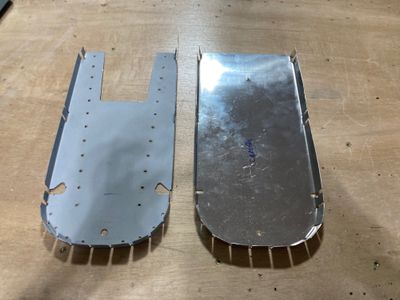
Then I proceeded with the forming process. First, I used a wooden stick to form the smaller (offset) flange flaps. This is where I did a very embarrassing mistake. I bent the very second flap in the wrong direction! I tried to unbend it, but, of course, it broke off. I still formed the rest of the part, just to get familiarized with the process.
I formed the rest of the flanges using the soft mallet and then rivet gun with the mushroom set at the low setting. The rivet gun did leave some marks, but it was because I was not holding it exactly perpendicular.
So, I started all over again. This time I did use the washer, and it turned out that due to the bending radius, the size of the flaps was just right. Also, I remembered that I have a manual nibbler which is more convenient for straight cuts. It took me much less time to prepare the second bulkhead (about 30 minutes, maybe)!
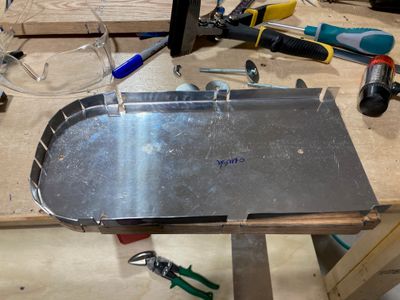
Then I formed it using the same process as before: hammering the hard wooden stick for the offset flanges, then a soft mallet and a rivet gun for the rest. This time I was careful with the rivet gun so the flanges came out without marks.
This is what the part looked like after the forming.
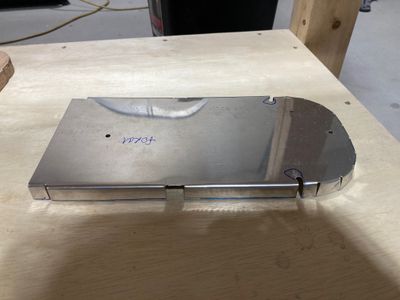
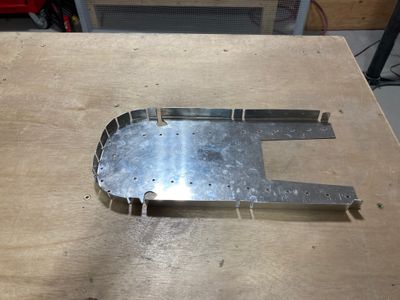
After that, I clamped the part to the F-711A part, centering it as much as possible, and drilled all the holes that connect these parts. Then I did a cut-off and filed the holes for the J-channels, using F-711A as a template. Finally, rounded the edges with the files.
The result.
