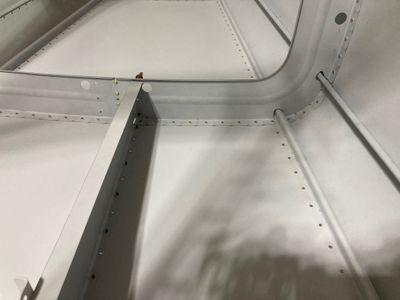
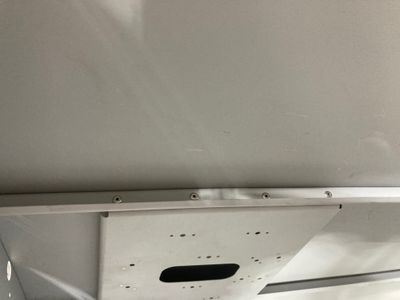
Finished riveting aft fuselage 2h
2h
October 8, 2022
Mostly finished riveting aft fuselage.
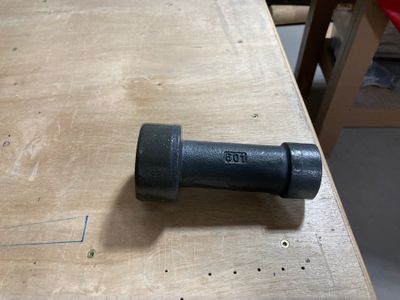
I drafted my wife to help me with riveting the bottom rows of the rivets on the aft fuselage. Choosing between different techniques, I chose to do back riveting since it does not require much training. All I needed from the helper is to push the rivet with a heavy back riveting bucking bar.
The back riveting bucking bar is just a big round bucking bar.
It worked well! Most of the rivets turned out okay. Few had shop heads slanted to one side just a bit, but not too much and I kept them. Few rivets I had to drill out and reset, either due to a misaligned rivet gun or because parts were not pushed enough together.
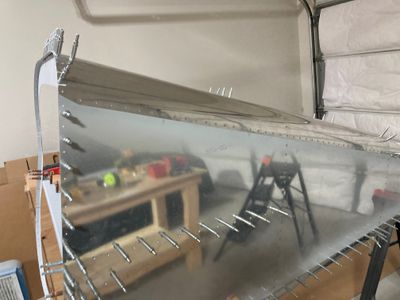
This is the result of one of the bottom rows.
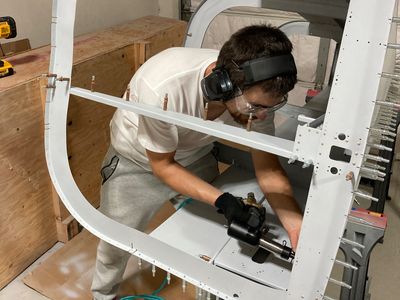
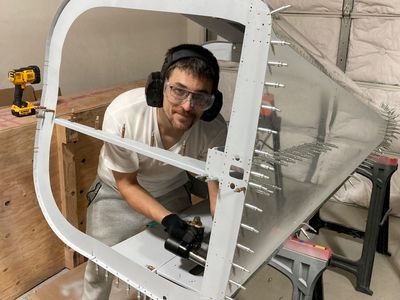
This is me pretending I am riveting. Obviously, fake, as you cannot back rivet without somebody holding the backing plate! However, at least I have proof it was me building the plane -- since I had somebody to take a photo of me!
This is what shop heads look like.
Finally, I riveted the ELT brackets with the LP4-3 rivets. The plan to rivet the brackets using the solid rivets on the bottom worked out great.
Overall, it went well, but I had to upsize several rivets half-size (up to NAS1241) and one rivet to NAS1097 ("oops" rivet). Some, if not most NAS1241 were when I drilled out the rivet for some reason and the hole was big enough to fit NAS1241. Not because of drilling, but rather because the hole got stretched. In some cases, the hole stayed small enough, so I kept AN426. I think the holes that got stretched might be the holes where I had some misalignment when drilling.
The "oops" rivet case was one place where I messed up a rivet a few times, upgraded to NAS1241, and still messed up the rivet two times. Finally, I screwed up drilling out the rivet, so I pretty much only had one chance at fixing it. Luckily, I was able to put the "oops" rivet just fine using the back-riveting.
