Drilling the bolt holes in the lower longerons 2h
2h
February 26, 2023
Today I drilled the four holes for the bolts on each of the F-717 lower longerons.
The first thing was to find out where to locate the holes for the bolts attaching the lower longeron to the engine bracket. The longitudinal dimensions are given in the plans. However, the plans don't say anything about the distance from the edges.
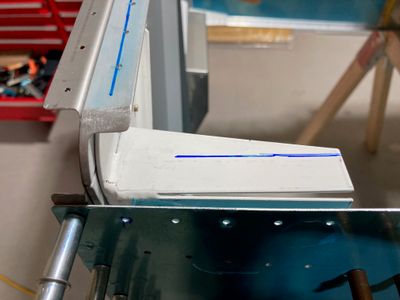
Based on the experience of other builders, I knew that if I drill the holes in the center of the longeron, I will have edge distance issues. So I placed the longeron where it should be and traced its edge to get an idea of how much real estate I have.
It turned out that the width of the overlap is about 3/4". If a hole is drilled exactly in the middle of that, it will give an edge distance of 3/8", which is 2D for the 3/16" hole size.
So I used my mill to locate the #40 holes on the longeron, with the holes placed at 3/8" + 0.025" from the edge of the angle. I biased the holes by 0.025" to get just a bit more edge distance on the aluminum (sacrificing a bit of an edge distance on steel).
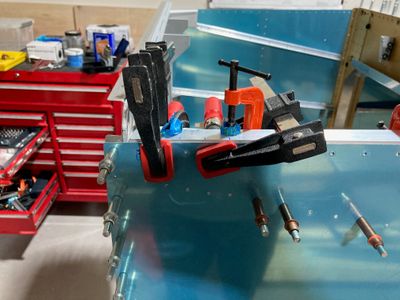
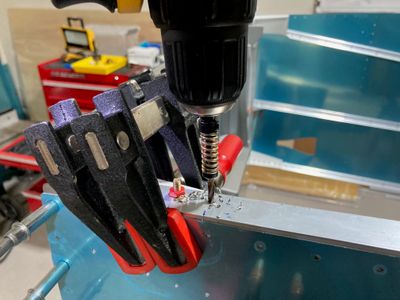
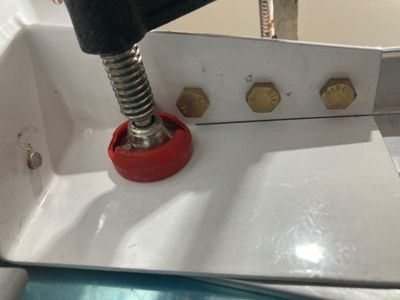
Then I clamped the longeron and drilled the #40 holes through the steel. This time I used an air drill to drill the steel, and it worked well. I think I am starting to like the air drill.
I upsized the holes to #17 holes using my electric drill and then reamed them to 3/16". I found that #17 worked well, leaving some healthy amount of material to be removed by the reamer.
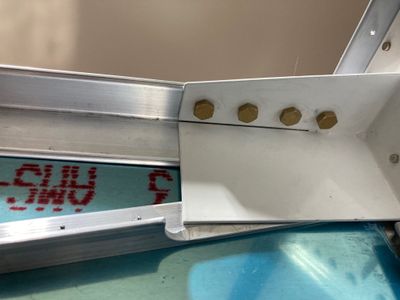
The edge distances turned out to be well. I measured them and got ~0.400" on aluminum (which is exactly 3/8" + 0.025") and about 3/8" on steel (the overlap was just about ~0.025" wider than 3/4").
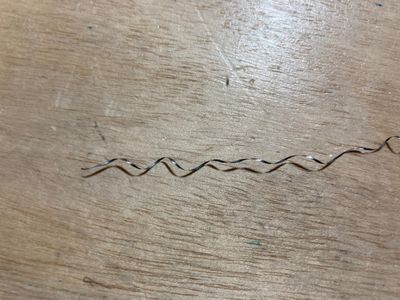
Then I started working on the left lower longeron. While drilling the #40 holes, I stopped the drill for some reason. This left a long string chip sticking out of the hole. Without giving it any thought, I grabbed the chip and pulled it with my fingers. Bad idea. If it was an aluminum chip, it would have broken off. But this was a steel chip, still firmly attached to the hole. It sliced right through my finger. Not a big cut, but very annoying, akin to a paper cut.
The steel chip in question:
Pretty proud that I managed to get that long of a chip by using a hand drill! Usually, I get rather small ones or even dust-like chips.
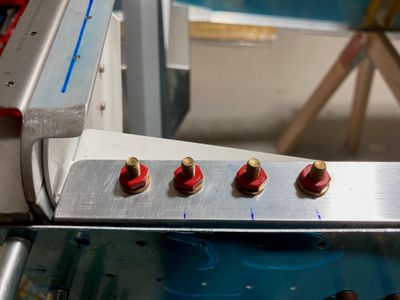
The holes in the left lower longeron.
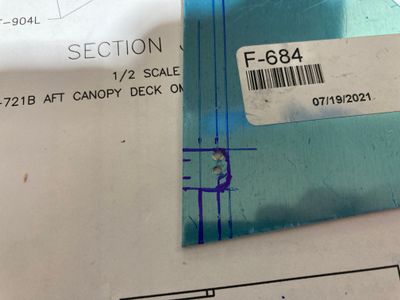
After drilling the longerons, I started to work on an F-684 gusset. However, I located the holes for the notch radiuses in the wrong location.
You can see that the holes that were supposed to be upsized to 1/4" are not where they should be. I can still make these parts work, but after doing some research, I found that several builders had edge distance issues on that part. So I decided to fabricate a new one, but slightly larger. Also, I think I can actually make the notch narrower.
It looks to me that the reason it is so wide is to allow the bend line to be at 9/16". However, if I bend the part before doing the notch, I think it should work out okay? Will see once I get my 2024-T3 0.063 sheet stock.
