Riveting the right baggage bulkheads 1.5h
1.5h
June 22, 2023
Today, with the help of my son, I riveted the right baggage bulkheads to the skin.
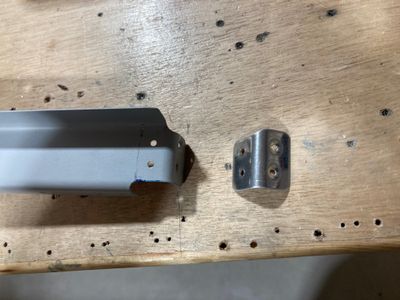
While fitting the right-side bulkhead, I noticed that there is a gap between the bottom flange of the bulkhead and the F-776 bottom skin. On the left side, I had the same issue, but since one of the holes had a very short edge distance, I made a little part that acted both as a flange and as a spacer. So I made a similar part for the right side as well.
First, I cut a piece of stiffener material from the practice kit. I drilled two holes to attach the part to the F-724-R bulkhead with the AN470AD3 rivets.
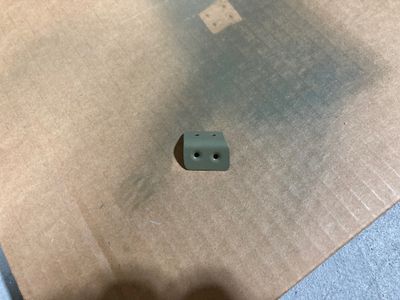
Then I painted it.
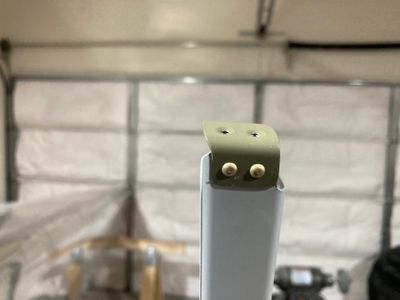
And riveted it to the part. I could have just used the spacer, but I simply followed the process I did on the other side.
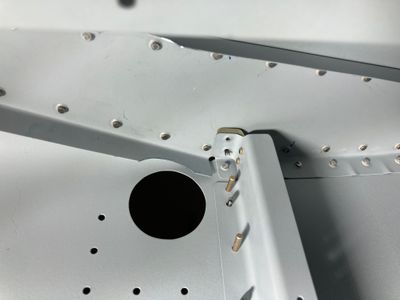
This is what the part looks like from the inside.
Then I riveted both bulkheads to the skin. Thanks to my son, it was a lot easier than doing it alone.
