Riveting the leading edge. 4h
4h
November 29, 2024
Today I riveted the leading edge together and finished the leading edge light installation.
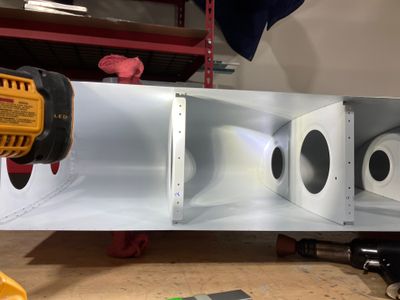
The leading edge is pretty much just the ribs and the skin, so the whole assembly process was to rivet them together.
The end result.
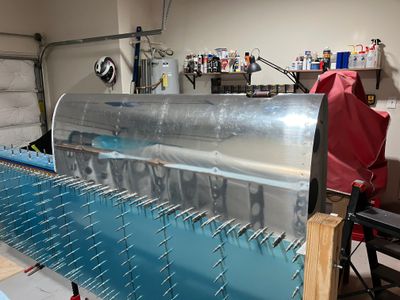
While riveting I managed to miss one of the rivets, which left a dent in the skin. It's not too bad, but there was absolutely no reason to make this mistake. The rivet wasn't particularly difficult one. After this mishap, I switched to my swiveling mushroom set. It doesn't feel as robust as the smaller set I use, but still does it's job, and also it doesn't slip as easily since it has some rubber footing.
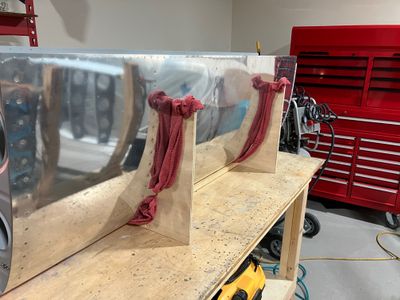
Then I put the leading edge to the rest of the structure.
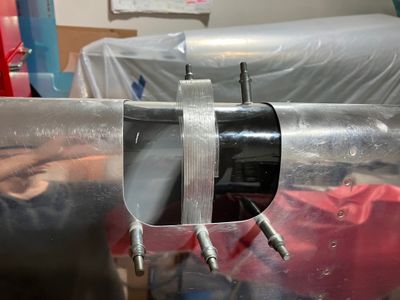
After I got the leading edge temporarily fixed to the wing, I continued working on the leading edge lens. I simply followed the procedure from the Duckworks leading edge light kit.
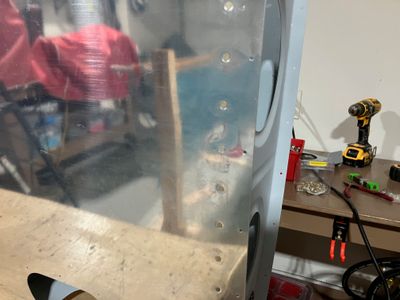
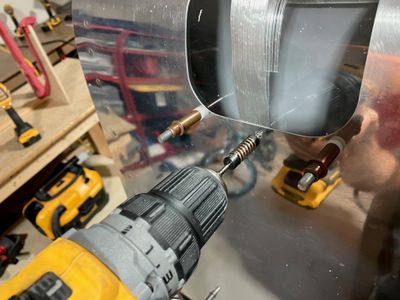
First, I pulled the lens with the fiberglass tape strap, then drilled and reamed the holes to the #30.
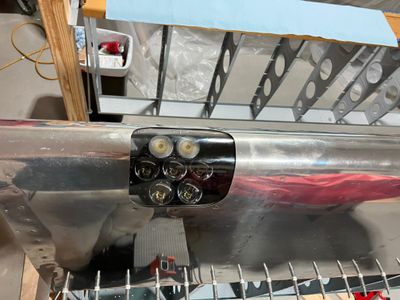
Finally, I upsized all the holes for the #6 screws and counter-sinked the holes in the lens itself. This is the final fit.
I did not like the fit at first since the weatherstrip caused some gap between the skin and the lens, but seems like it got compressed eventually, and it looks okay now.
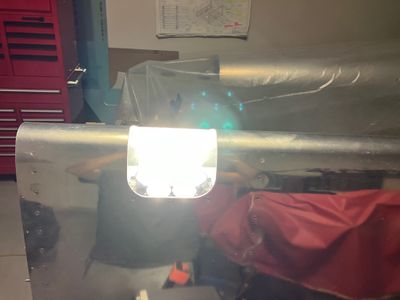
Couldn't resist turning the light on!
