Various small tasks in preparation of the fuel tank assembly 4h
4h
December 7, 2024
Over the weekend, I did more work on the right fuel tank.
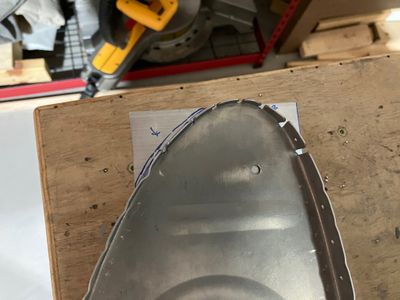
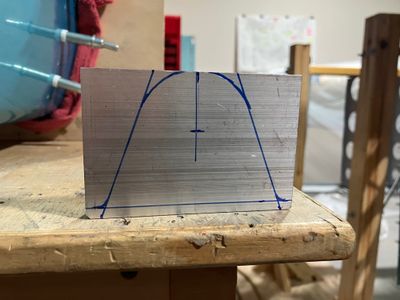
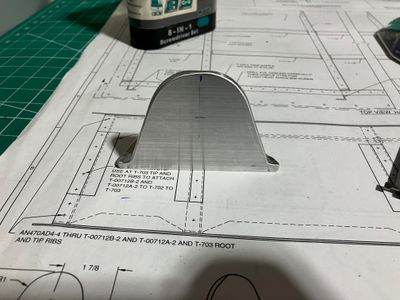
First, I finished the attachment bracket angle T-405. I traced the outline of the rib for a rough idea of the angle shape.
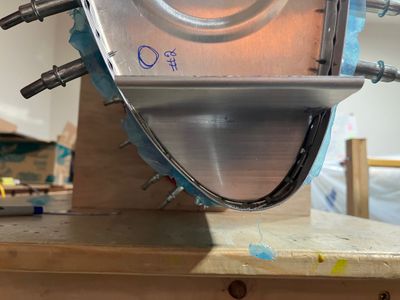
Then I shaped it with the help of a file to fit into the rib.
The other leg of the bracket has some radius plus tangents to it, more or less.
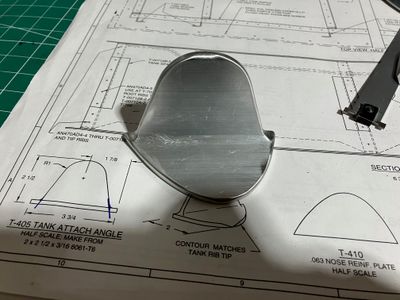
The final shape and the backside.
Then I drilled the holes in the angle. However, two outer rivets could have been a bit closer to the free leg of the angle.
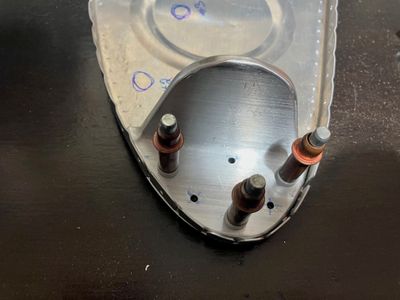
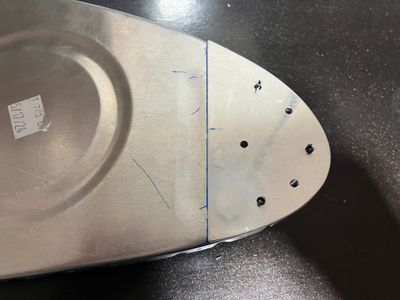
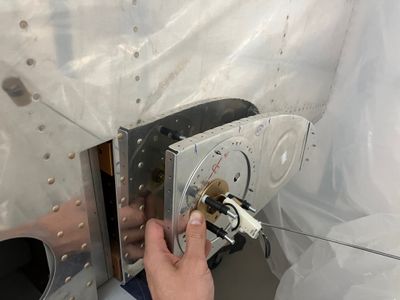
To drill the reinforcing plate, I clecoed the rib and put the reinforcing plate tight to the skin, then drilled the holes.
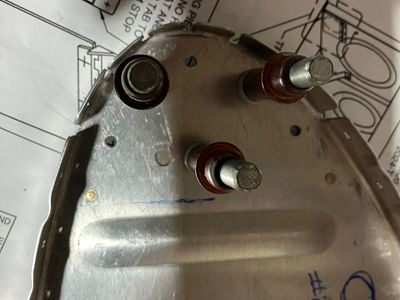
To aid with the installation of the attachment angle and the reinforcing plate, I drilled two extra holes for -3 rivets to attach it to the rib. This would allow sealing that plate to the rib before I install the rib into the skin (I cannot install the angle first because it will interfere with the shop end of some rivets).
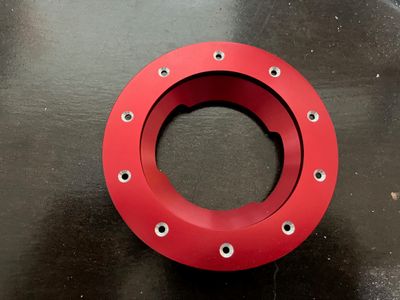
After that, a bit of countersinking for the fuel flange.
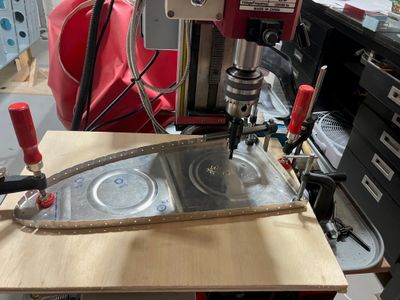
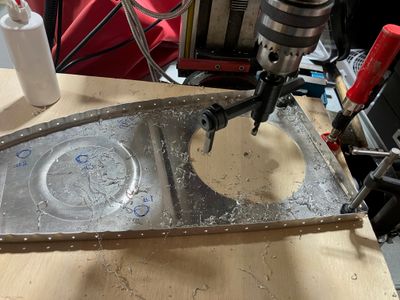
To cut the access panel hole in the rib, I used my mill with the fly cutter tool. This worked well.
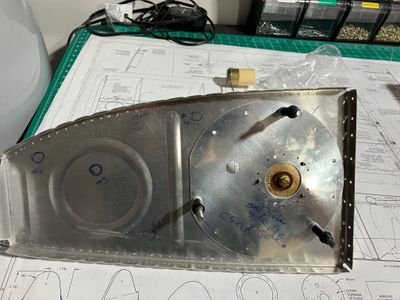
After that, there was some consideration for the return line location. There are different places builders put the return line on RV-7, I selected four possible locations.
The main consideration for the location is to put it far away from the pickup so the returned fuel has time to cool down and to avoid picking up bubbles. However, RV-14 plans show a return bung just over the pickup. Some EFII documentation I saw recommended at least 4-6" inches of separation from the pickup and placing higher than the pickup.
The size should be the same as the supply side (-6).
Initially, I wanted to return to the outermost bay but then I decided to return the fuel to the second bay instead, as some builders do. This should separate from the pickup, but also shorten the path fuel will need to flow back to the pickup for a low fuel condition. I don't know how much difference does it make, though.
Another consideration is routing to the fuselage. Some recommended option #4, to keep both of the fuel lines about the same length, but the location would be too high for the fuselage, it needs to go lower.
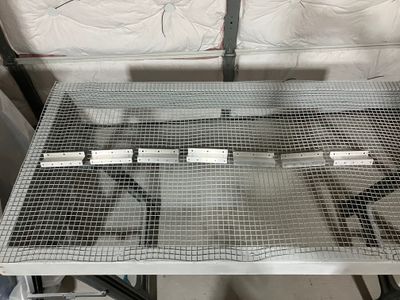
After that, I primed the Z-brackets (except the face that will go against the fuel tank).
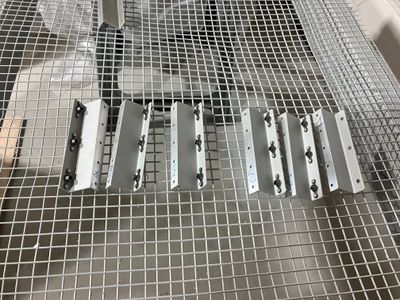
Then counter-sinked them and installed the nut plates.
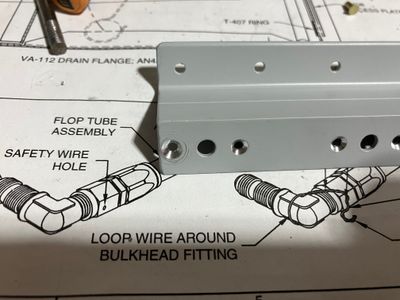
While doing that, I, however, ruined one of the brackets. There was no reason to make this mistake, I knew that the countersink cage needs extra attention when counter-sinking the outer-most holes.
So I took a spare bracket from the left fuel tank brackets and ordered a new one.
