Priming the vertical stabilizer 2.5h
2.5h
May 9, 2022
Getting to the priming of the vertical stabilizer.
All the parts are ready for priming. Overall, priming was a big concern for me. I've never used a spray gun before, and I don't have much experience preparing aluminum either. I don't have a sense of how much cleaning is enough.
Previously, I did paint my Van's Light Box kit, which turned out okay in the end. I used SEM Ez Coat, which comes in a spray can. I chose it as a backup primer for one-off jobs, small parts, and so on. For the cleaning, I used PreKote. I don't have anything to compare it with, but I've got a feeling that it is a relatively weak cleaner and relies a lot on mechanical agitation.
There were a couple of issues I've encountered:
- The worst mistake was to connect the air blow tool to my air setup. I forgot that I have an inline lubricator. I was very surprised by stains where the paint just wouldn't stick. Then it dawned on me that they happened because I was spraying oil.
- Even with air connected directly to the compressor, I would occasionally get small round spots where the paint would not stick. I don't know what was the issue.
- I sprayed paint way too thick in some places so it started to flow. The lesson I learned, if the paint does not want to stick to a spot, it is pointless to try to convince it, it won't. Instead, do a better job cleaning the part next time!
I pretty much stripped all of my first attempts, and the second attempt turned out fine.
This time, I am using Stewart Systems EkoPoxy. I chose it based on the following considerations (but again, I have no experience):
- Two-part epoxy primer because I thought it would be tougher than other types of primer. Not that I necessarily need that toughness, but my thinking was that if it is naturally robust, it might be more resilient to rookie mistakes I am going to make.
- Also, I intend to dimple after priming (so I don't have to deal with dimples while scrubbing with Scotch-Brite pads), so I need a bit of toughness here as well.
- Something less toxic, simply because I live in apartments (townhouse-style) and I want to avoid toxic stuff as much as I could. EkoPoxy seems to fit the bill.
- Something I could use for high traffic areas later in the build (cabin interior).
I also asked for MSDS sheets for EkoPoxy, mostly to pretend I understand how to read them 😁 For some reason, I was not able to find them on the Stewart Systems website, but if you ask them, they will send them to you.
Back to the build.
For preparing my parts, I followed instructions from a video from Stewart Systems and also a video from another builder.
First, I sprayed parts with EkoClean diluted to 15:1 (15 parts of water to one part of EkoClean), then wiped with towels. Second, I sprayed parts with EkoEtch diluted to 2:1, scrubbed them with Scotch-Brite pads, then sprayed them with distilled water and wiped them. Finally, I washed parts in the shower. Instructions recommend using a pressure washer, but I don't want to set up mine just yet.
I can see that some parts weren't scrubbed enough, they still show a bit of a shine. I decided to continue anyway.
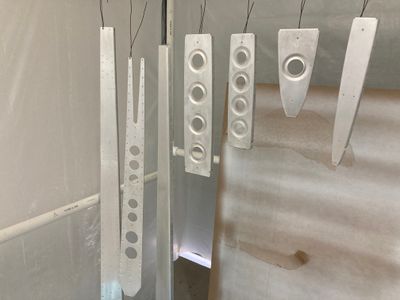
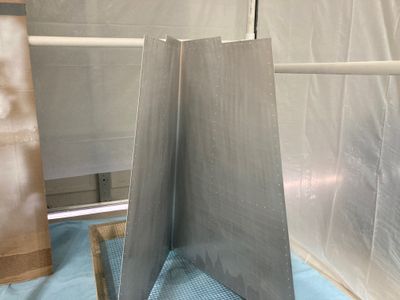
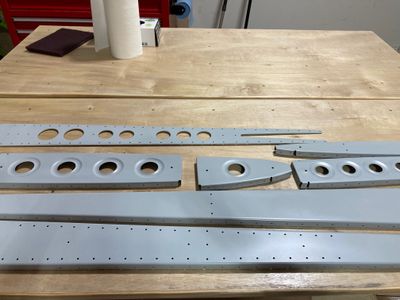
Parts after cleaning and etching:
Interestingly, I only noted these stains on the bottom of the skin after I posted this image.
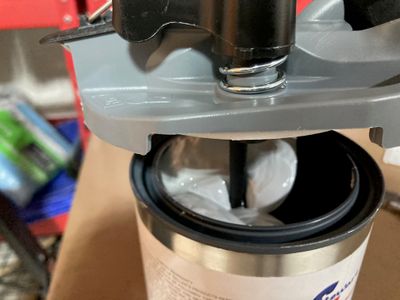
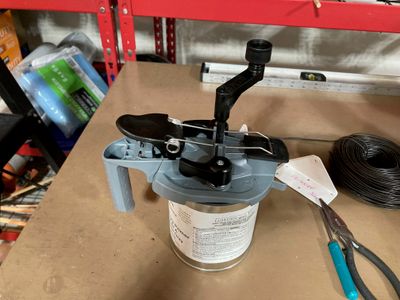
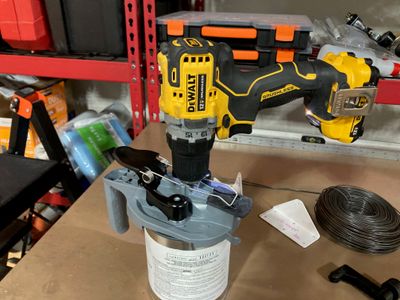
Next was to mix the primer. I have seen reports that part A of EkoPoxy could get extremely thick, and it definitely was! To agitate the primer, I bought a mixing paint lid, which is a paint mixer combined with the lid.
I pretty much had to screw the lid into the primer!
But after working it with the drill for a couple of minutes, it turned into a nice flowing consistency.
After that, I mixed it with part B and the water and mixed it with the wooden stick. I was quite surprised by how well did it mix. My life experience of mixing things is just not very good. Be it drywall mud, dough, or even a salad dressing! This thing? After a couple of shakes, it got into a nice smooth liquid. I still mixed it thoroughly, to make sure I don't get any surprises with the epoxy.
Then I sprayed it with my gun. I used a Husky HLVP spray gun with a 1.8mm nozzle. I tried to set it up for about 22 PSI, but I cannot figure out how to get a consistent PSI setting. The issue is that my compressor is hardwired to run from 90 PSI to 120 PSI. I set 90 PSI on my compressor and 22 PSI on the gun, but when the pressure drops in the compressor tank, the gun regulator gives slightly less pressure (~20 PSI) compared to what it would give when the compressor tank is at 120 PSI. Perhaps, the issue is that my hose was a bit too long.
The first part was ... terrible. Even after all that training with latex paint, I managed to forget about the pattern direction. So the first part got like a tiger stripe because I was used a vertical pattern vertically 🤦🏻♂️. However, after a while, I figured out the settings and managed to spray without too much drama in the end. I don't know if I am spraying it too thick, though. I scratched my test coupon with the paint thickness gauge, and it was at 3 mils, exactly where it should be (according to the instructions). My parts, though, got ... various layers (since I was fighting gun settings).
I mixed primer three times:
| Part A | Part B | Water |
|---|---|---|
| 72g | 13g | 9g |
| 59g | 11g | 8g |
| 56g | 10g | 7g |
With a total of ~245 grams of the primer (I only used half of the last batch). I don't know if that's too much, too little, or just right. And how much of it went into the overspray.
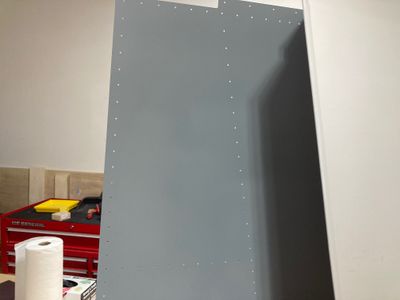
Parts after all of the priming.
Next is to dimple all the parts, and assemble the vertical stabilizer!
