Assembling the horizontal stabilizer skeleton 4h
4h
May 12, 2022
Continued working on the skeleton for the horizontal stabilizer.
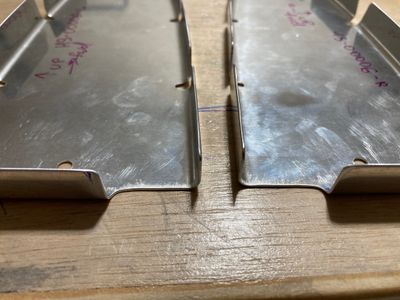
I started with pre-cleaning all the horizontal stabilizer ribs on a Scotch-Brite wheel. The standard procedure of fluting the ribs and straightening flanges. While fitting the vertical stabilizer skin, I found that you don't have to be exactly precise with the fluting. If a rib is reasonably flat, it will fit just fine. So I do one round of fluting using a hunch of how much I need, then check if it is straight enough. Most of the time it is.
Then I trimmed HS-00006 as per instructions: the flange needs to be narrowed on one side (but remember that one is the left and another is the right!) to fit a wider HS-714 splice angle.
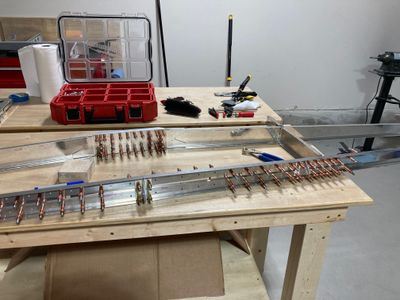
Then I connect both spar assemblies with the ribs into a skeleton.
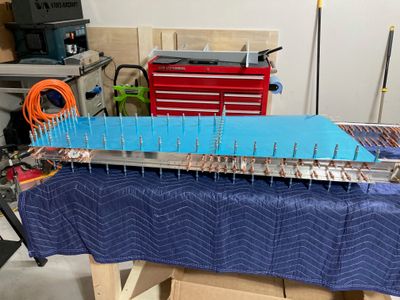
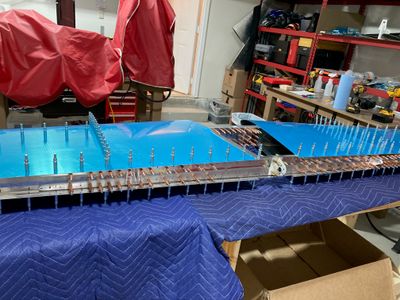
Manual suggests doing two sides separately, but I decided to put both of them at the same time. I pulled the skin on the left side first. I don't know what is the correct technique to do it, but I would do the following process:
- Cleco backside of the skin to aft spar on the bottom. To allow for the clecos I would hang spar off the table. Also, I would do the same for the tip side of the skin.
- Put a couple of the foremost few clecos for the nose rib and the tip rib, again, on the bottom side. This pulls the skin up so it starts to curl around the nose tips.
- Put all the bottom clecos on the tip rib. Mostly because I can and multiple cleco would hold it better than only a few at the tip.
- From that point I would push the skin to the ribs on the top and see if I can cleco the foremost ones on the top. This was the moment when I scratched the inside of the skin the most: since the skin is relatively tight against the nose piece of the ribs, it scratches there. I did several things to reduce the scratching: I rounded nose tips to make sure the outside edges are not sharp, made sure that the rib is aligned well with the holes (so I don't have to move it left-right), and put some painters tape on the skin where nose ribs rub against the skin.
- For both of the sides of the skin, it would cleco without much effort. Once those foremost ones are connected, I would start clecoing everything else, moving aft.
- Turn over the assembly and put clecos on the bottom side.
The main idea is to pull the skin to the nose ribs tight as soon as possible, this helps to align everything else. However, the caveat here is that forces acting on the cleco are highest at the front, so you need to put multiple clecos. On the bottom side, I rely on the weight of the assembly to keep the skin curled. On the top side, I put many clecos while holding the skin down with my hands.
Finally, I started to position HS-00006 and HS-00005 ribs to make sure I am good on the edge distances everywhere (front spar and the ribs). However, at this point, I realized that I did not trim the HS-702 (front spar) flange enough and it interferes with the HS-00005 rib. Bummer. So I disassembled one side to remove the spar and trim the flange. However, I am leaving this for another day.


