Assembling the rear spar 2h
2h
May 19, 2022
Time to start assembling the horizontal stabilizer.
I haven't primed all the parts, but the spars are primed. The first step was to dimple the spars (I did not dimple before priming to make it easier to scuff the parts).
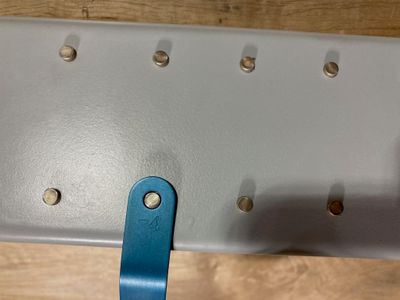
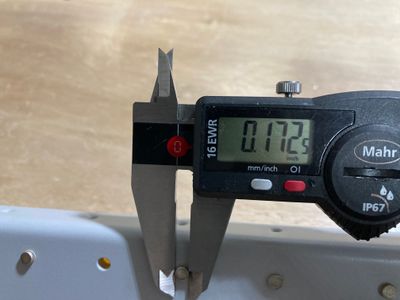
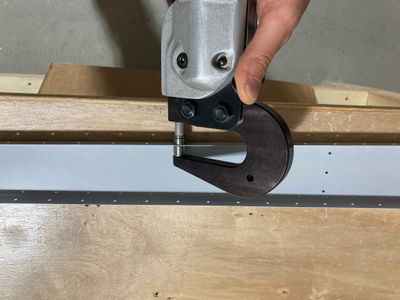
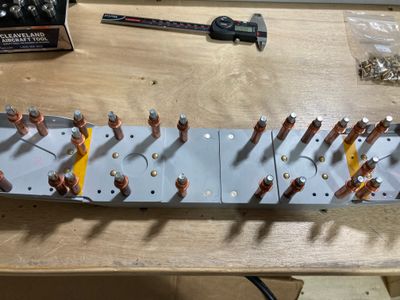
The second step was to identify which holes are used for brackets/ribs and mark them with the tape. After that -- riveting. I used the squeezer without much drama but managed to make a tiny mistake anyways. When I was setting the first rivet, it was not setting short enough so I kept reducing the gap in the squeezer. It still was not setting it. Then I realized that the air pressure is still set to the 20 PSI I used to rivet the test coupon. So I set it to 90 PSI and ... of course, the rivet came out way too flat! I think it was possible to keep it even though it was over squeezed, it was 0.047" vs 0.050" being the minimum for the 1/8" rivets. I still decided to replace it. I carefully drilled it out and re-installed another rivet with the squeezer using the correct gap.
Then I realized that all the dimpling I did with the same 20 PSI, which I thought might be too small. I checked dimples against dies and against other dimples I did with the correct setting and did not find any difference, so I decided to keep them as is.
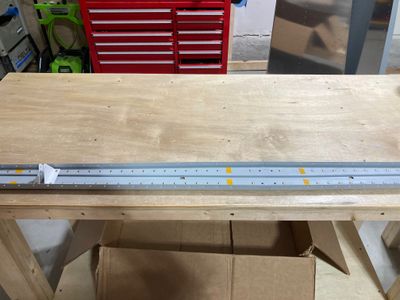
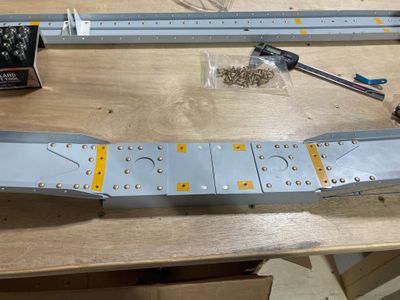
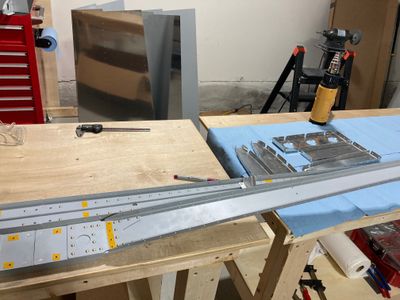
After a lot of squeezing, the rear spar was assembled.
I noted that most of the rivets were on the short side (which is well known).
However, when measured with calipers, they are still perfectly in the MIL Spec.
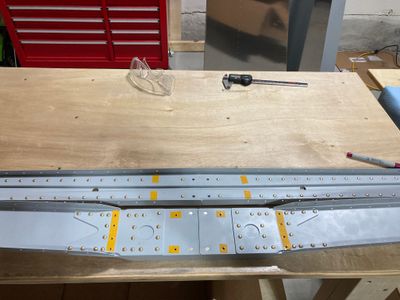
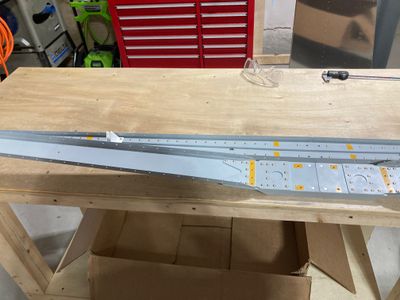
Then I dimpled the flanges of the front spar (almost forgot about it!) and clecoed the parts together. I hope I identified holes correctly. The four holes in the middle are presumably used to attach the horizontal stabilizer to the fuselage. The remaining eight holes are where ribs are attached.
Finally, I put all the rivets (except for the ribs, as I haven't primed them yet).
