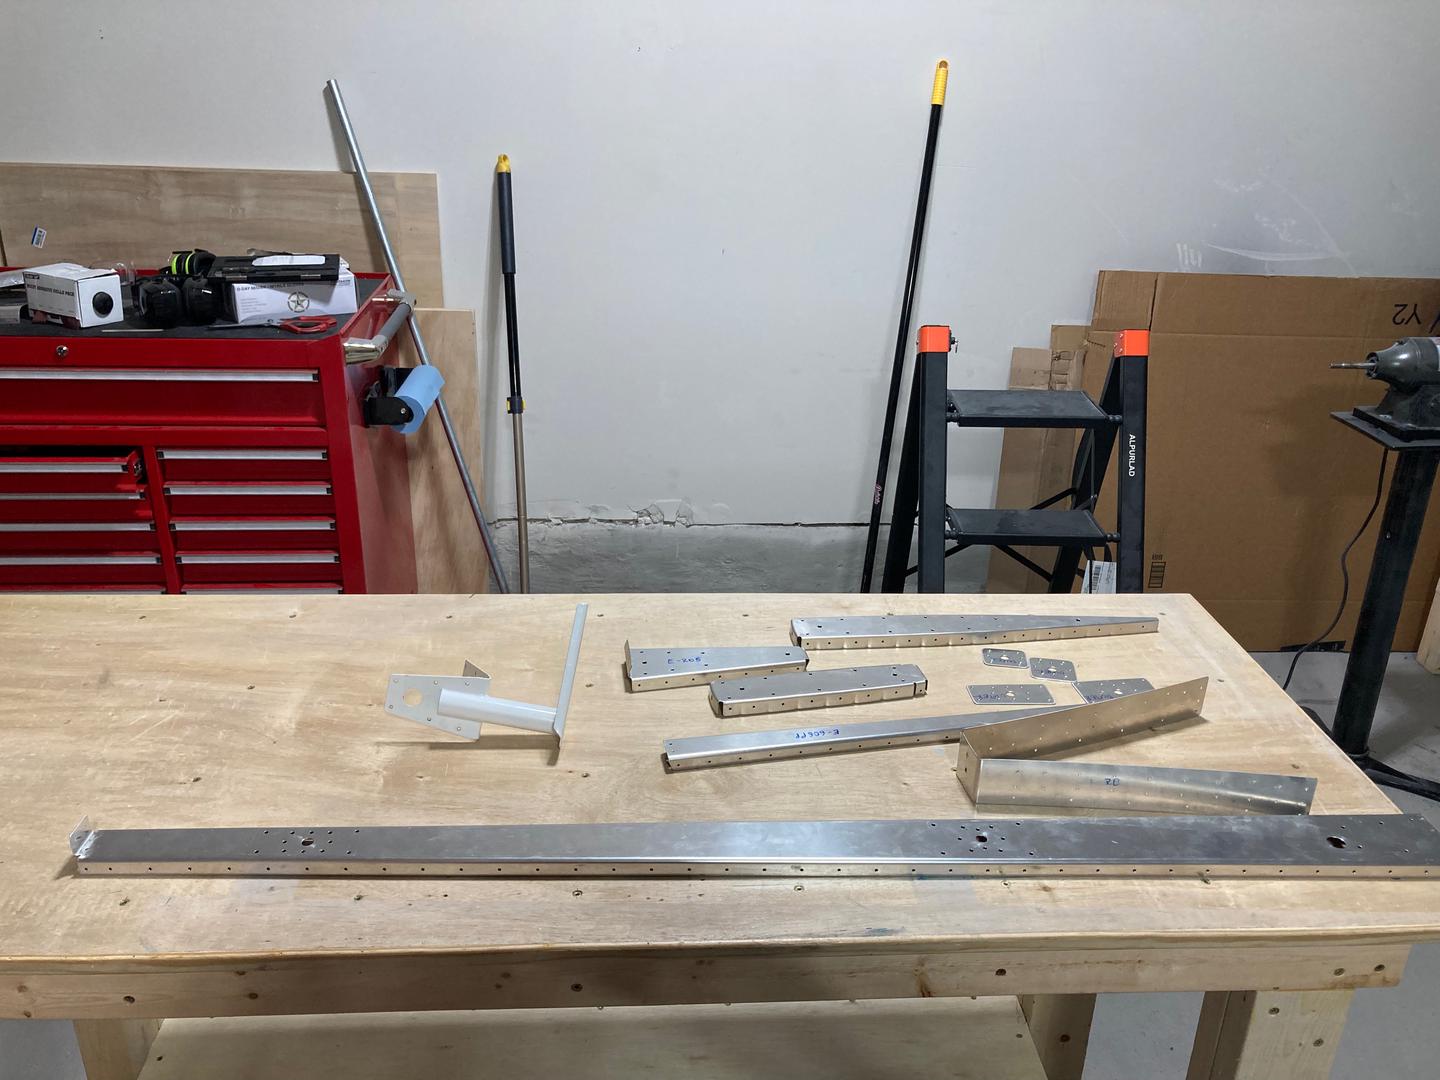
Deburring the left elevator parts 2.5h
2.5h
June 28, 2025
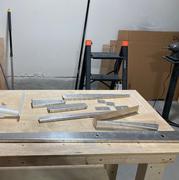
Today I match-drilled skin to the understructure and deburred all the parts.
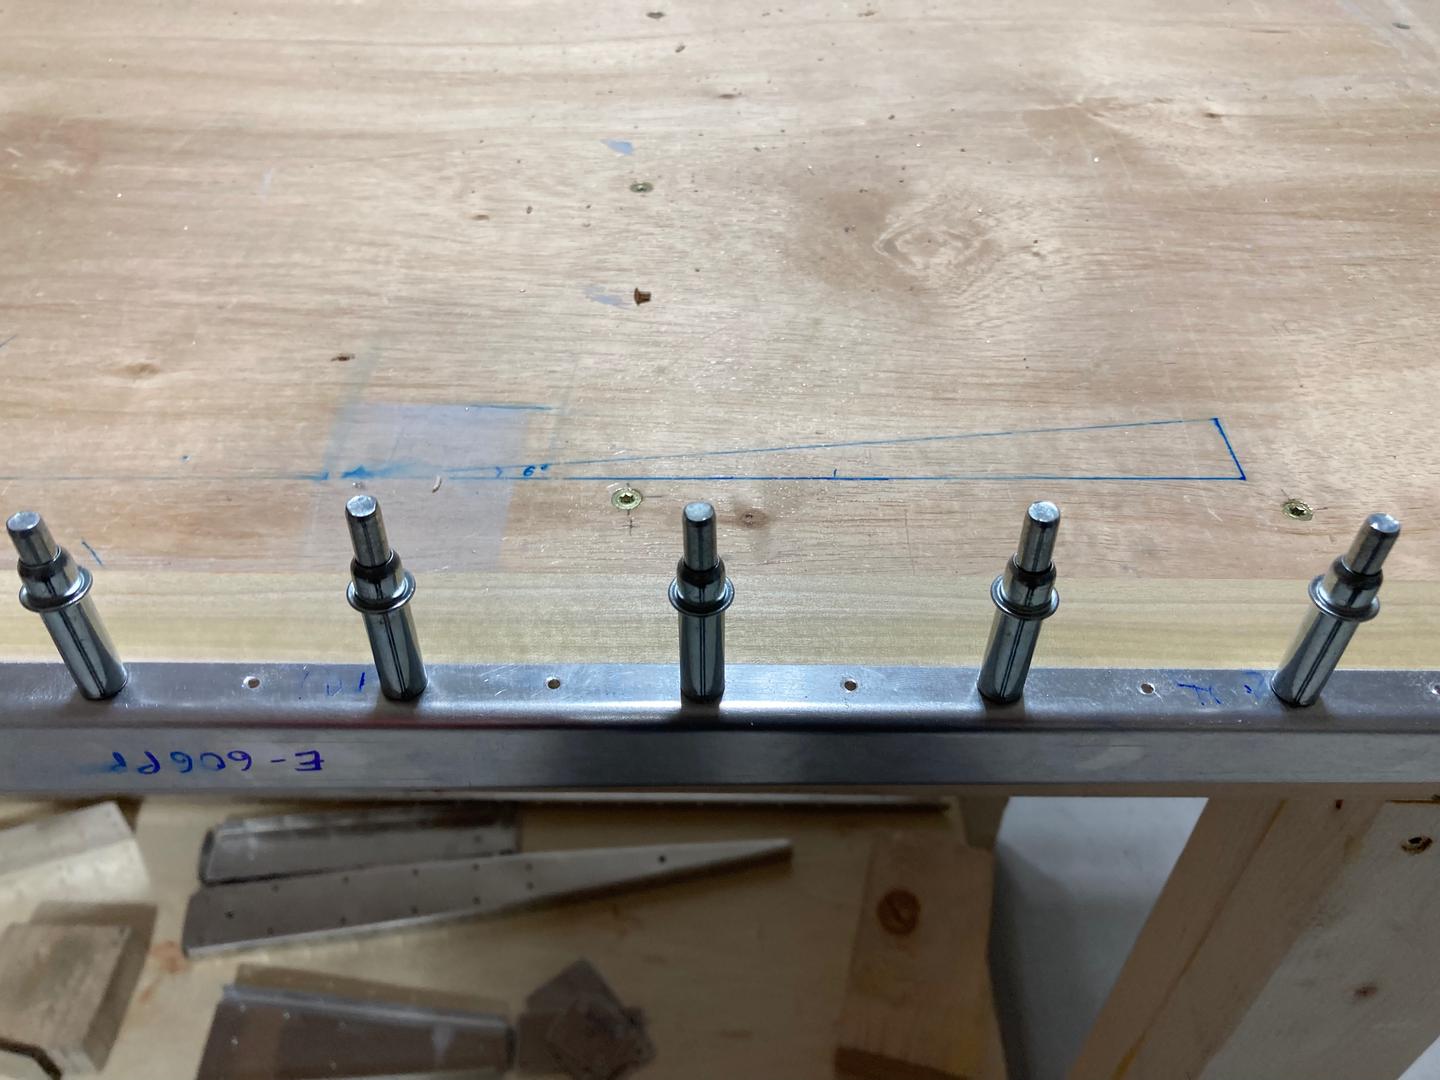
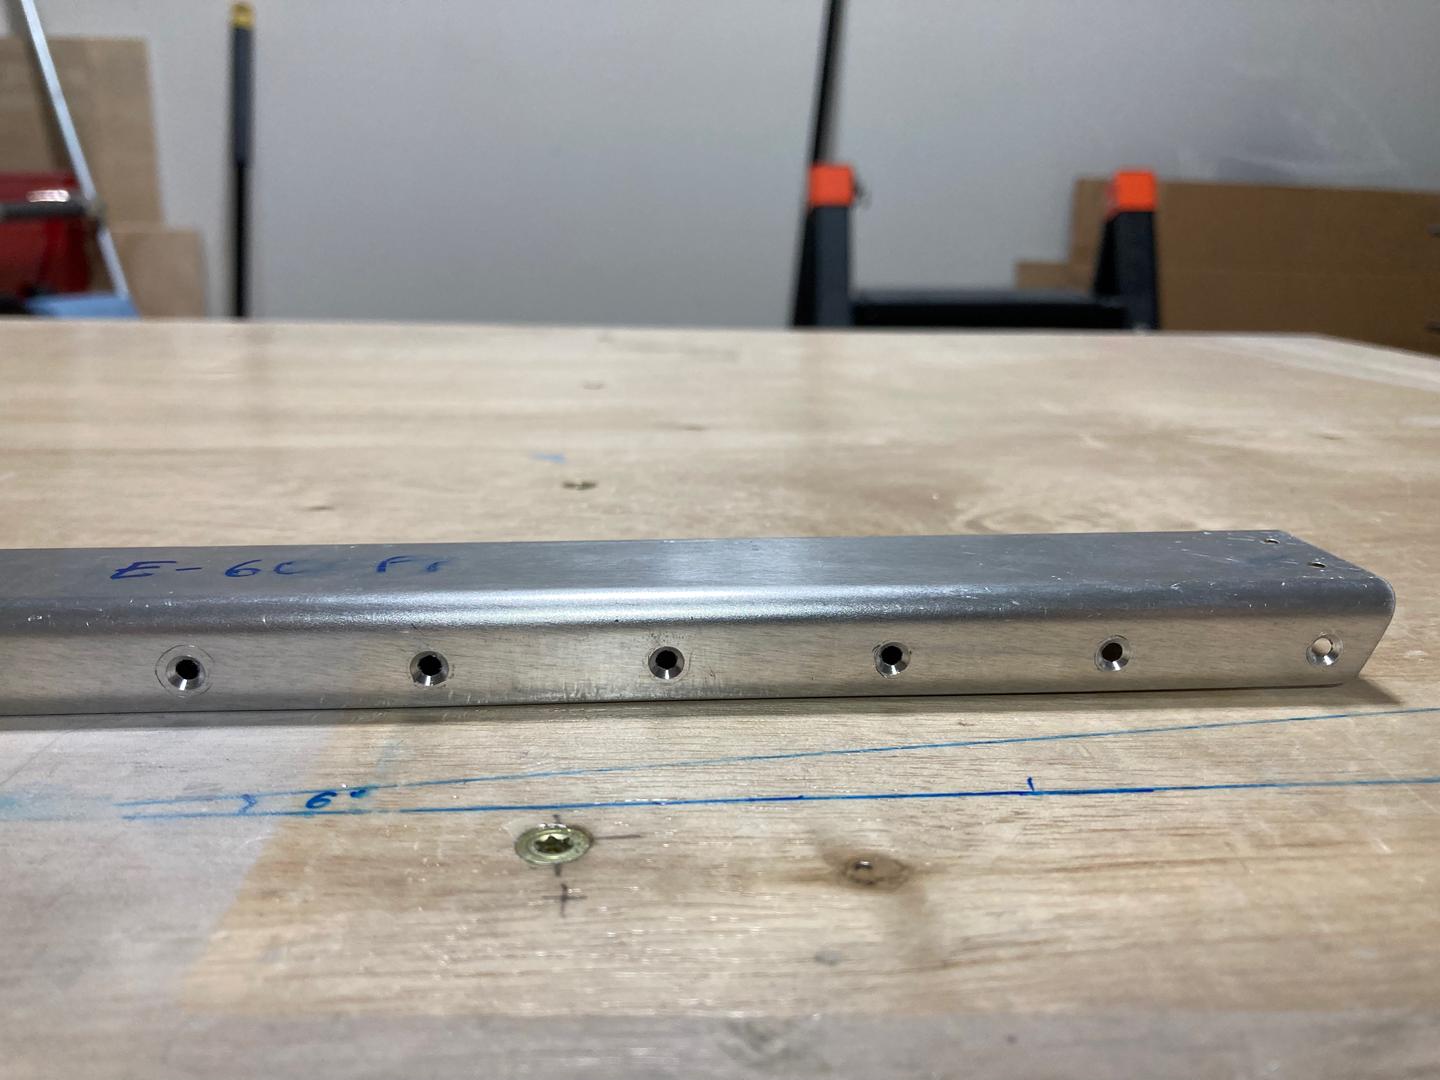
The first step was to match-drill all the holes in the skin, then countersink the holes on the E-702 and E-606PP to accept the flush AD3 rivets. The E-702 countersinks are to allow the elevator horn to sit on top of them. The E-606PP holes, as I understand, are primarily because there are no AN470AD3 rivets in the kit. Also, I could have dimpled, but I decided to go with the countersinks. These I countersinked by turning the tool manually in my fingers.
After that, I deburred all the parts. They are ready for the priming session (but cleaning and scuffing go first!).
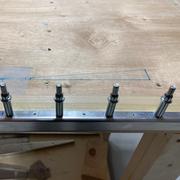
Then I prepared a setup to countersink the trim spar. I match-drilled the part to the hardwood block and clecoed to it.
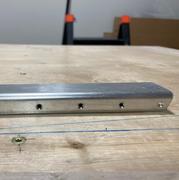
Then I countersinked the holes. The hardwood provided some support for the pilot so the tool does not wander too much. I did flush plus 0.007" countersinks, as per Section 5 of the manual (these countersinks will accept dimples from the skin). Since the spar is so thin, I got knife-edge and slightly enlarged holes. It seems like it is okay in this particular application as there will be the hinge tab underneath the trim spar, which will provide good support for the rivet shop head.
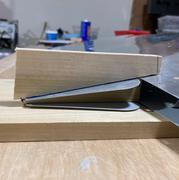
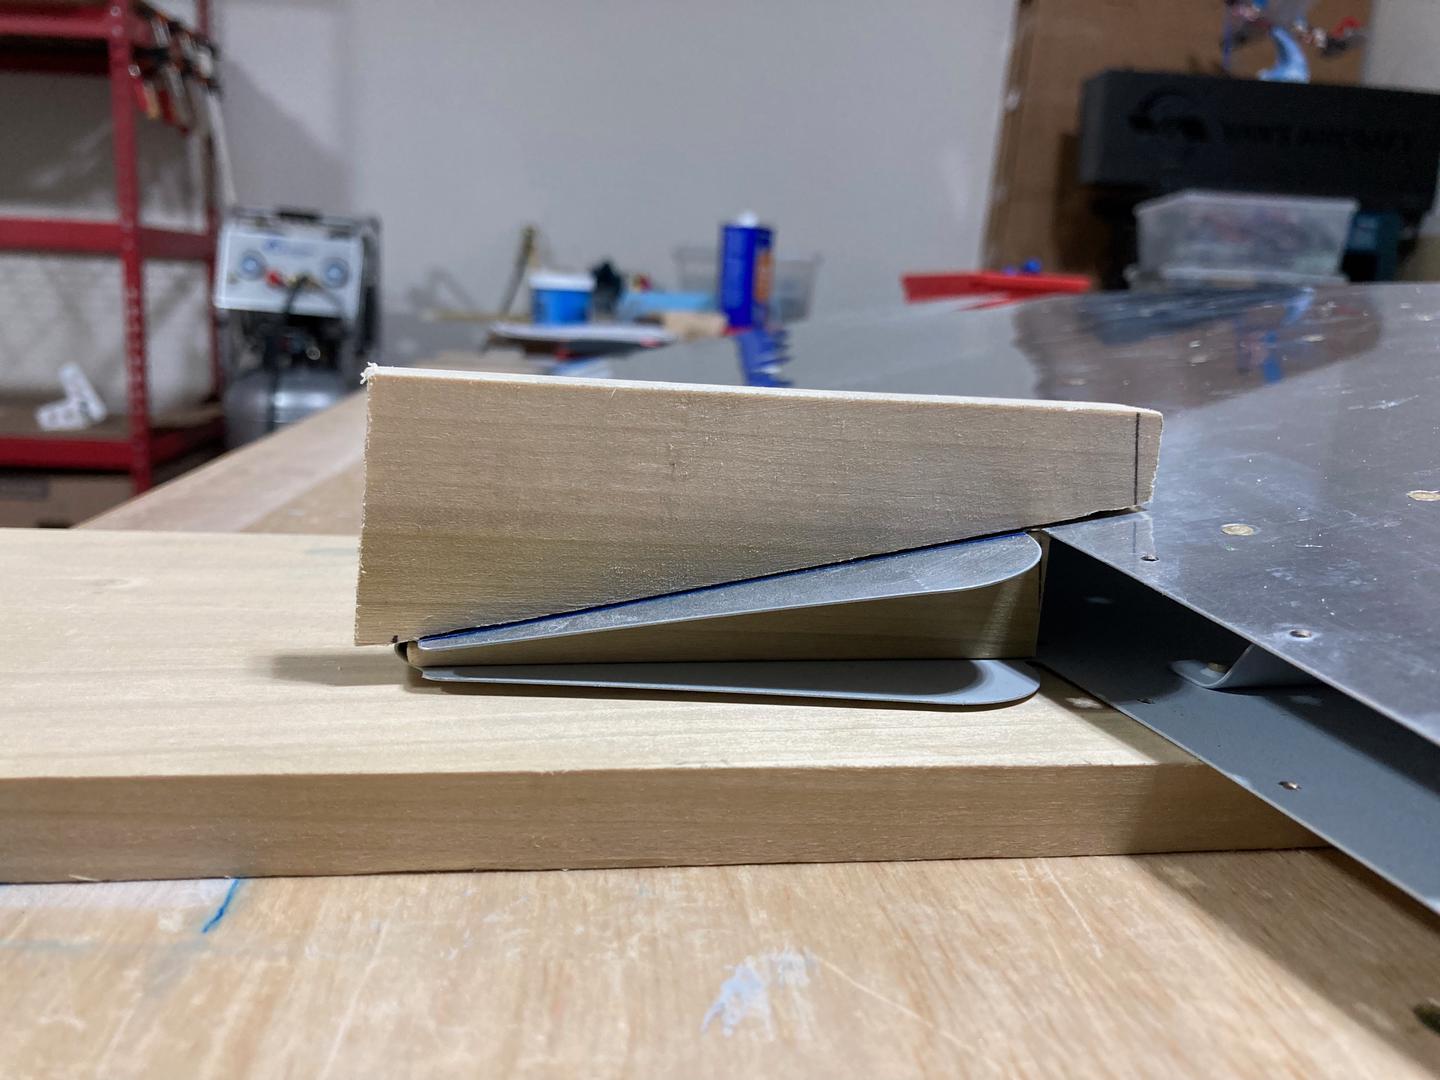
Finally, I cut the hardwood blocks for bending the elevator skin trim cutout tabs. I haven't figured out where exactly should be the bend line, though.
P.S. After looking a bit more at the trim spar, I decided to redo it. The main issue is that I countersinked all the top holes, however, the last 4 holes are not backed by the hinge. Since my holes are a bit enlarged, they would not provide good support for the blind rivets (even though these rivets require slightly larger holes).
I am also going to re-order E-703 and E-704 ribs. They are okay, but a few holes are a bit oblong. I can't figure out how to make these parts sit tight enough to each other so the spacing of the holes on their flanges matches the counter-balance skin.
