Fitting the top rudder fairing and rolling the leading edge 5h
5h
July 16, 2022
Today I worked a bit on the rudder top fairing and the leading edge.
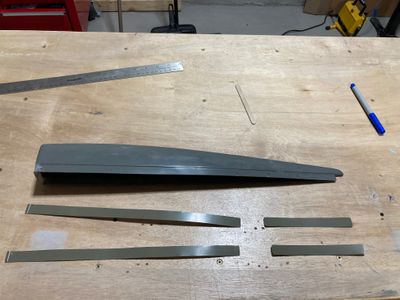
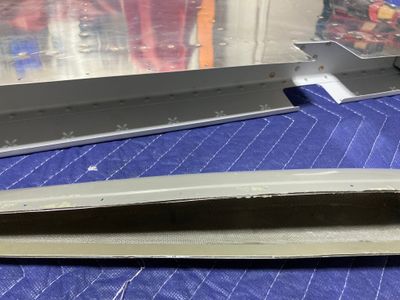
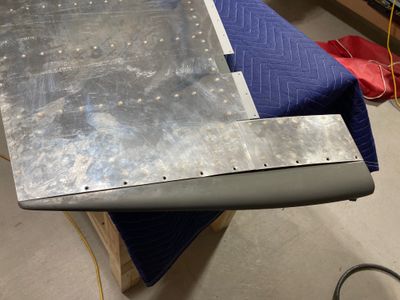
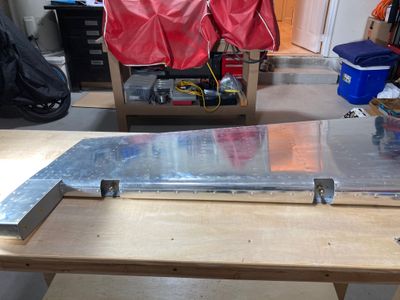
The first step was to glue some aluminum backing plates to the rudder fairing, to reinforce the rivet attachment areas.
I used T-88 epoxy, which I have handy. I did not use any filler for it as I don't have anything to work with composites yet.
The next day, the epoxy dried.
There were some reports of aluminum delaminating from the fiberglass during the drilling operation, but I did not experience any (even though I have not waited the full 24 hours for the epoxy to fully cure).
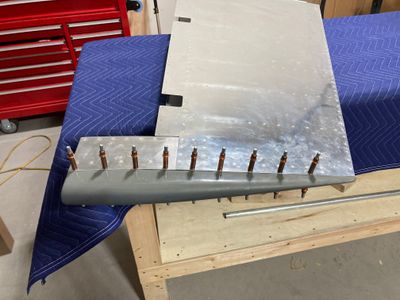
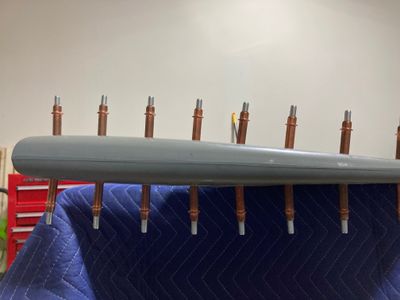
Then I drilled the holes from the rudder skin to the fairing. This is where I got a few bad holes already: even though I tried to center as much as possible when drilling through the existing dimples, one or two holes got some offset. They are still okay, but not fully centered in the dimple.
Then I dimpled the holes using my dimpling bar and the rivet gun. The dimples turned out to be pretty bad. First, I stretched the thin rudder skin in one of the holes. All the holes except one were either in the counter-balance skin alone (which is relatively thick) or in the sandwich of the counter-balance and the rudder skin. However, that remaining one was in the rudder skin, which is pretty thin. I haven't realized that I need to reduce pressure for it, and I stretched the skin while hammering it.
Also, I left a couple of smiles when I hit the dimple with the rivet gun. I was not holding the gun correctly. Next time, maybe, I should dimple these holes before the parts are assembled. In that case, I would have access with the normal dimpling dies. On the other hand, drilling the fairing when dimples are pre-made is also not without a challenge: since the dimpled hole is a bit larger, it is harder to get the hole exactly in the center.
Or maybe I can use C-clamp to compress my shop-made dimpling bar and the die, rather than use the rivet gun.
It all seems to be structurally sound, just unsightly. I expect these smiles will be hidden during the painting preparation.
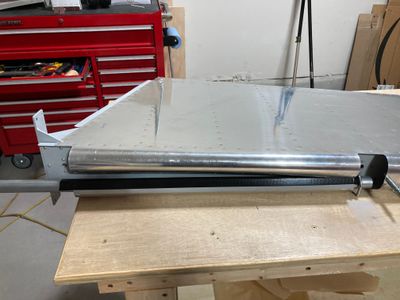
After that, I switched to rolling the leading edge. This time I attached the Gorilla tape along the edge (rather than multiple strips perpendicular to the edge), which worked much faster. I was concerned that the sticking force won't be enough, but I had no issues rolling the edges (also, the rudder skin is thinner than the elevator skins).
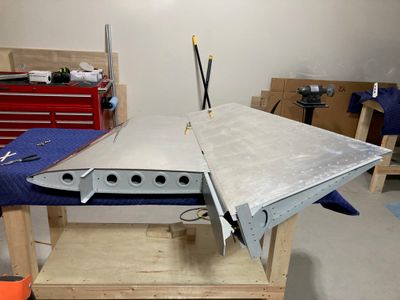
Finally, I temporarily hinged the rudder on the vertical stabilizer, just to admire the progress I have made so far.
