Riveting the left elevator 6h
6h
July 23, 2022
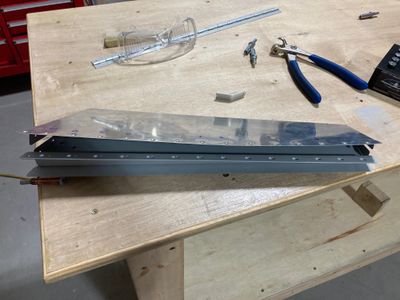
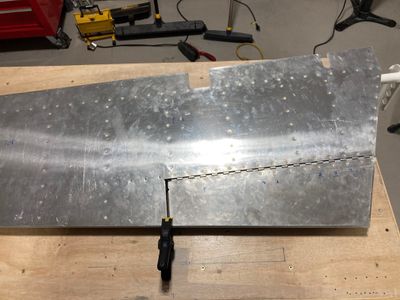
Today I riveted together the left elevator and its trim tab.
I started with back riveting the trim tab spar to the skin. I carefully spread the skin apart and used my regular back riveting set.
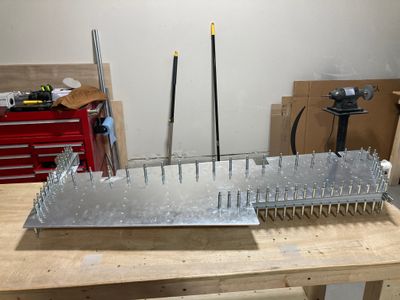
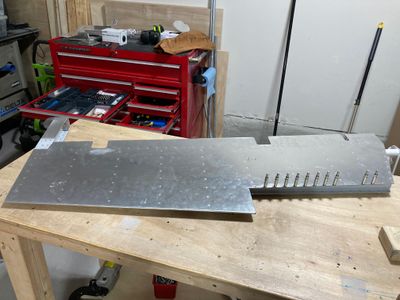
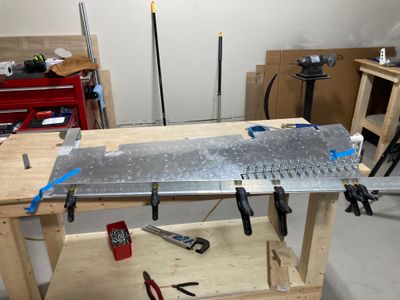
Then I clecoed the elevator substructure to the skin and riveted it. I put a small amount of tank sealant to the aft ends of the stiffeners, as per instructions.
A few holes did not align too well on the end and the counterbalance ribs, so some rivets did not set very well (they clenched a bit). I am going to review the rivets once I am back from the AirVenture.
Then, I aligned the trim tab using the aluminum angle I have and drilled the trim tab hinge.
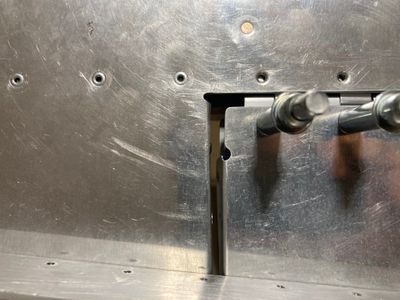
I left a gap between the elevator and the tab that is larger than 3/32". I think, I got it around 7/64". This was the moment I found that the flaps on the trim tab are not perpendicular to the skin. The edge of the trim tab is tilted a bit, and the gap on the top side is slightly larger than on the bottom side. It is not very noticeable.
There is a bigger issue, though. It seems like it is flat to the top of the elevator, but on the bottom side, the outboard side is "thinner" than the elevator. The inboard bottom side is more or less flat to the elevator. Not sure what's going on. I would think that these dimensions should be locked by the trim spar and the trim tab spar dimensions.
