Riveting the ribs and fitting the control column 4h
4h
January 1, 2023
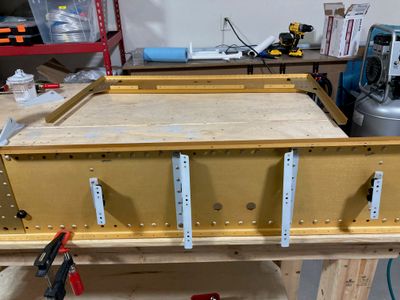
Today I riveted the cover support ribs to the center section.
Usual riveting job to install the cover support ribs. The top and the bottom rivets holding the web stiffeners behind the short ribs were supposed to be flat-head rivets, but I opted for the universal ones so I don't have to counter-sink the web (which is relatively thin). It probably would have interfered with the -A model gear mount, but since I am building a tail dragger, it should not be an issue. Based on the plans, it does not look like it will interfere with anything on a tail dragger model.
I also don't intend to put the flat heads on the shop side of the rivets that go into the bottom skin (which you have to do on a nose-wheel model). For the same reason, feer counter-sinks.
Then I torqued the bolts of the center section. Twelve AN4 bolts that hold the front gear mounts on the nose-wheel model (on a tail-dragger, they only rivet bulkhead web to the bars), four AN3 bolts that hold the middle cover support ribs, four bolts that hold the control column mounts, two AN3 bolts that fill the holes of the two missing rivets.
I did not mark the bolts as "torqued", which I will do later once everything is assembled.
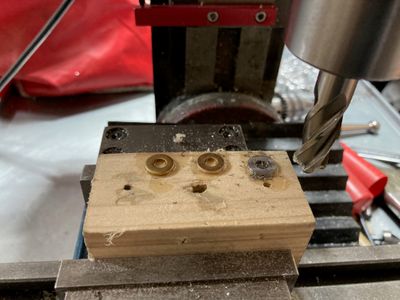
Since I torqued the control column mounts, I decided to get a better fit for the control column. I measured the gaps using the feeler gauges, then machined washers to fit. I machined the piece of wood with the end mill, glued washers with CA glue, and machined them to the desired thickness. When I was making the second washer, I glued three washers as I thought I will need more of them. However, it turned out I only needed one, so two washers went straight to a garbage bin.
The next step will be to bend longerons.


