Working on an aileron trim 3h
3h
January 29, 2023
Worked on an electric aileron trim today.
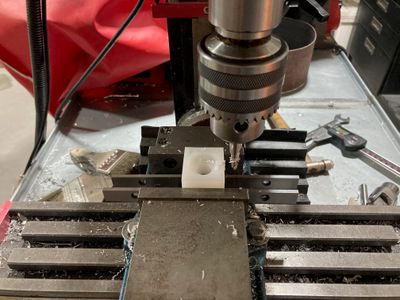
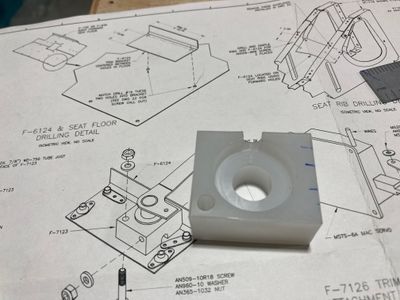
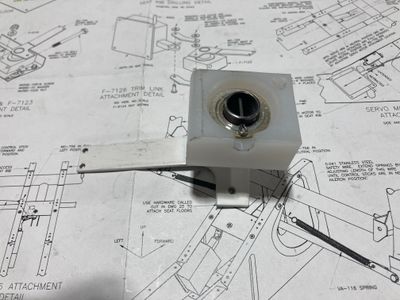
First, I worked on a pivot block. Drilled the holes and machined the notch using the ball endmill. I am using a drill chuck for holding the endmill which is a big no-no. However, since plastic is very soft and side forces are very light, it works fine.
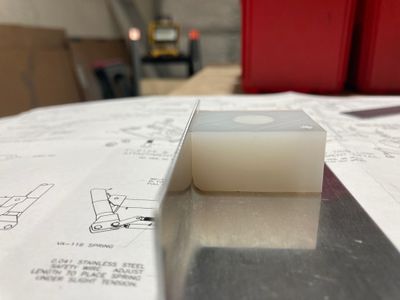
Then I used my router bit to round the edge so it fits into the bracket. It fits well!
Set the part in the mill for the drilling operation.
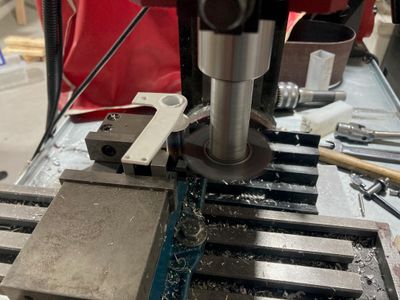
Then for the shortening operation. I used my slitting saw to shorten the weldment.
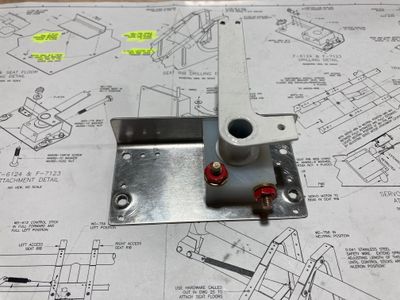
I put the parts together and installed the cotter pin.
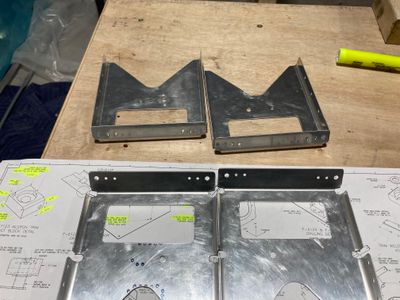
Finally, I drilled the holes for the nutplates in the crotch strap brackets so I can prime them together with the parts for the aileron trim.
