Continuing working on fairings 3h
3h
April 5, 2024
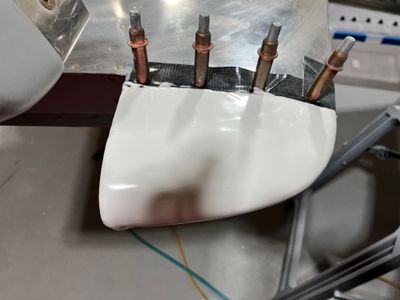
And even more work on the fairing.
This time, I worked on the elevator fairings.
The same steps as before: cover with epoxy mixed with microballoons, and sand, cover with thin epoxy, sand again, then prime.
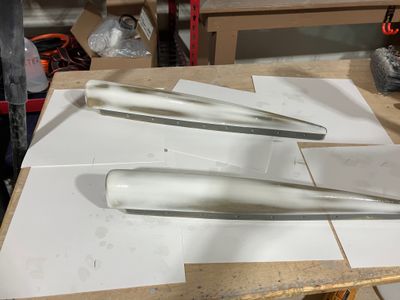
The elevators fairings after sanding, but before covering with System Three Clear Coat. The micro layer was a bit too thin so I sanded through it almost everywhere.
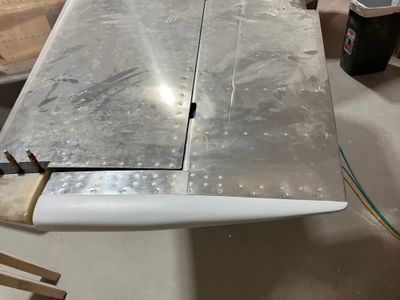
After all the preparations, I riveted the fairings to the elevators.
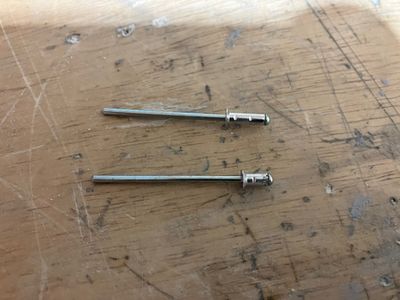
The aftmost two rivets on the fairing are opposite of each other so once one is installed, the other one would not fit. To work around this, I shortened the rivet. To do that, I removed the shank, sanded the rivet body to make it shorter, then installed the shank back.
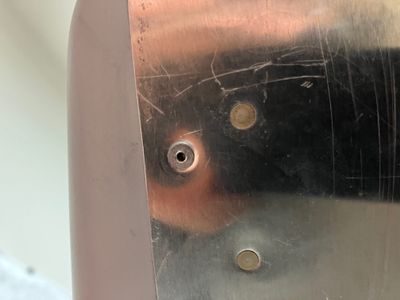
The installed rivet. It doesn't have to be perfect, but just good enough to cover the hole and pull the skin to the fairing.
Then I started on the stabilizer fairings. This is after covering them with micro.
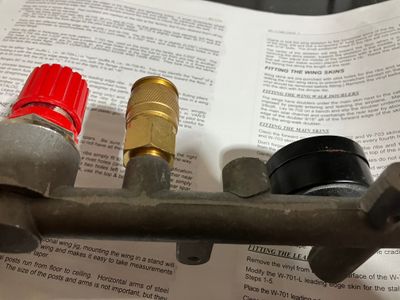
Unfortunately, the manifold on my compressor broke so I won't be able to continue with priming of the stabilizer fairings until I repair the compressor.
