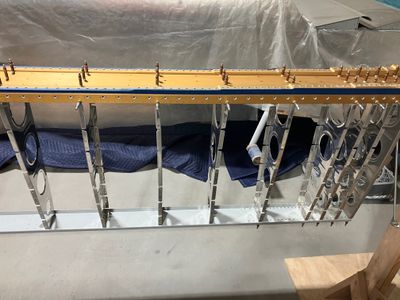
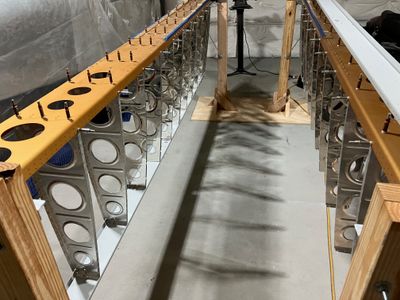
Deburring the main ribs 4h
4h
August 24, 2024
Over the week I was deburring the main ribs of the wing.
The deburring process I used is the same one I used for the fuselage bulkheads. I used my Scotch-Brite wheel to deburr as much as possible on the outside, then used a combination of files and sandpaper to deburr the tight spots.
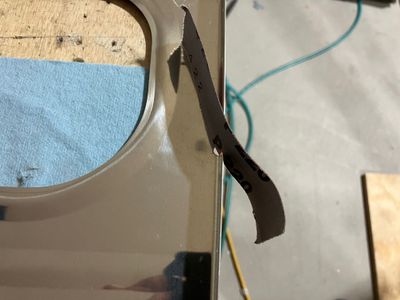
For the "slots" between flanges I simply pull the 220 grit sandpaper through the slot a couple of times. With some practice and just the right angle and force of pull, it takes only a few seconds. This is a depiction of the process:
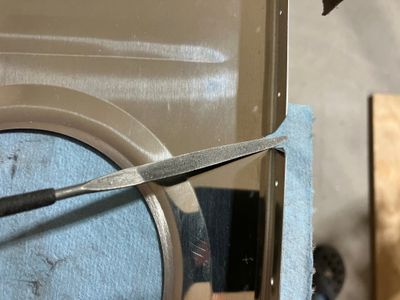
For the round slots in the main ribs, I used a half-round needle file.
To test the wing stands, I put the ribs and the spars on the stand. The inboard side of the spar just simply rests on top of an angle in the stand. The outboard side has a mounting bracket (a piece of an angle) that is bolted to the most outboard rib. This bracket rests on an angle on the opposite side of the stand.
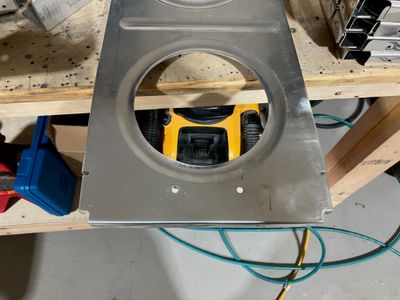
To mount the bracket, I drilled an extra hole in the outboard rib (as per instructions), somewhat symmetric to the existing tooling hole.
The brackets installed on the rib:
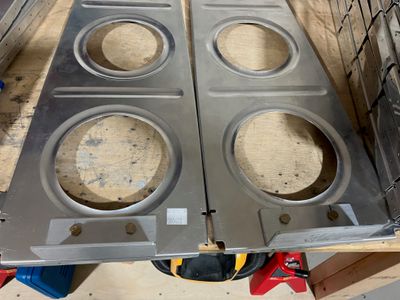
And then I mounted all the ribs and spars on the stand. The left-wing:
Both of the wings:
The instructions say to drill the ribs to the spars first, then prime. However, I decided to prime first. This way I don't have to mark the ribs in any way -- they are all the same until drilled to the spars.
