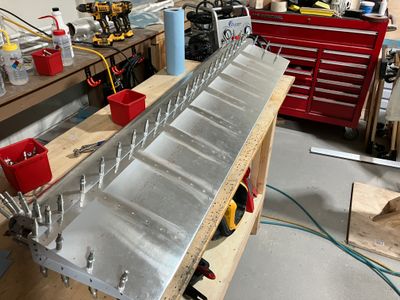
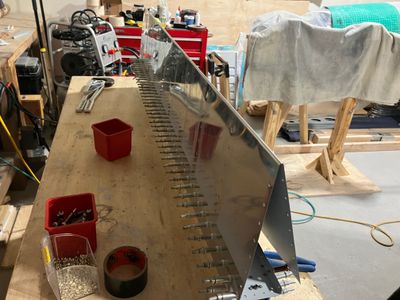
Riveting the right aileron 4h
4h
September 19, 2024
Repeating the process, this time for the right aileron.
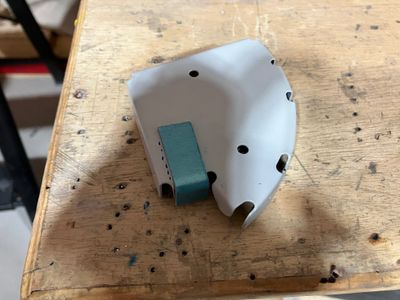
The first step was to repair the nose rib with an elongated hole.
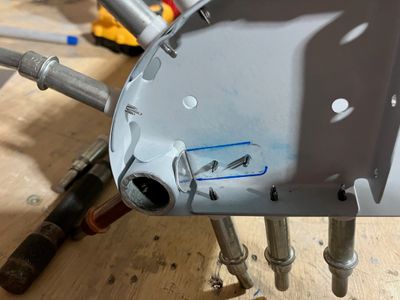
The plan was to cut off the flange with an elongated hole and to rivet a new one.
New flange clecoed. The original flange has a very small edge distance from the hole (because of how it and its neighbor flange are formed), so I made it a bit bigger.
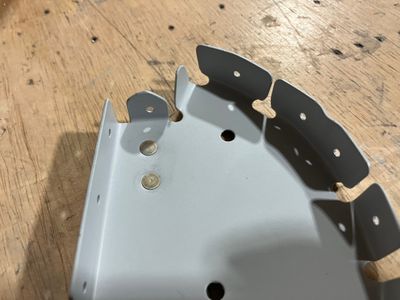
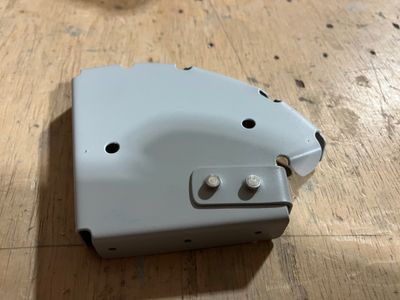
Repair complete. I chose to use flush rivets so they don't interfere with drilling and pulling the LP4-3 rivet in that hole.
View from the back.
Then, all the same process of match-drilling, deburring, dimpling and finally riveting the part.
The aileron is prepared for riveting the top.
