Riveting the main ribs 5h
5h
October 13, 2024
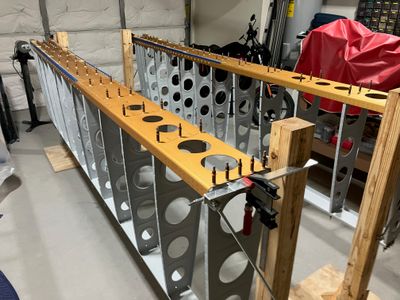
Started working on both wing assemblies.
The first task was to rivet the ribs to both the main spar and the rear spar. Nothing too fancy, just a regular riveting session.
I clecoed all the ribs.
Then riveted the ribs. This time, finally, I placed the factory head on the "correct" side (the side with the thinner material -- the rib flange). It doesn't really matter, but this helps to prevent distortion of the thinner material.
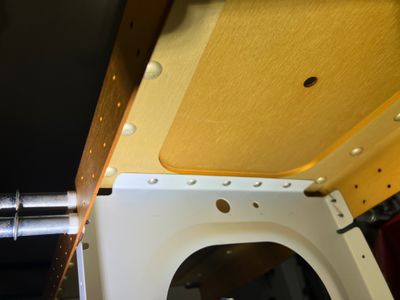
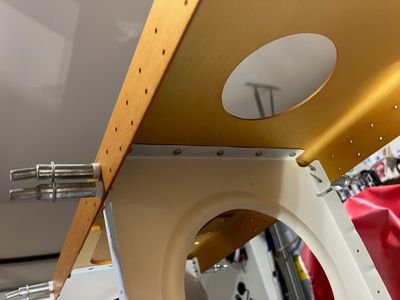
On some of the ribs, it seems like mostly on the ribs which are at the outboard part of the wing -- where the main spar is thinner, I got a bit of flange distortion. Maybe, I didn't bend the flange correctly, but I'm not sure.
I checked with the feeler gauge and it seems like the flange is tight to the spar around the rivet, so it's fine.
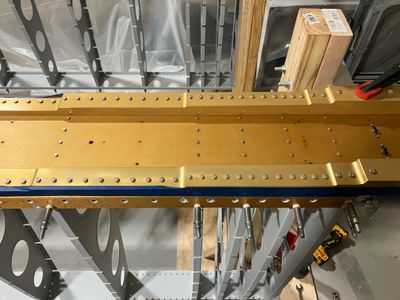
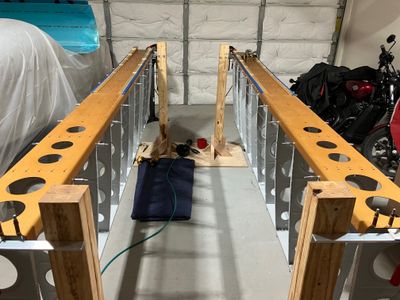
Look from the top at the shop ends.
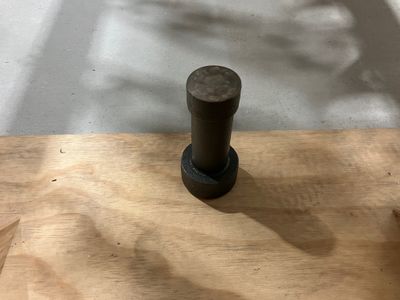
I used my big and heavy bucking bar which is so much nicer when working with thicker -4 rivets! Value to price-wise, it is one of the best tools I have.
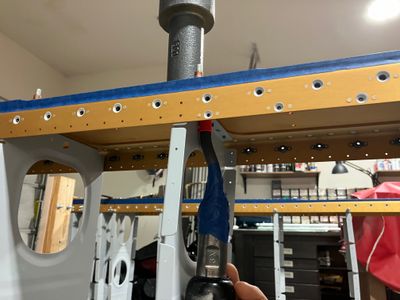
On the gun side, I used a double offset rivet set. I taped it to the gun so it did not turn.
This was the first time I had absolutely zero issues with the double offset set. Everything bucked very well. I think, the key parts of the success were:
- Heavy bucking bar.
- A lot of pressure, aiming at 2-3 second bucking time.
- Tape to keep the rivet set from turning.
- Just generally good job geometry (spar is heavy, good access with the rivet set).
The final result of the day was all the ribs riveted to the main spars, for both of the wings.
