Installing aftermarket aileron bellcranks 3h
3h
October 24, 2025
Installing aftermarket aileron bellcranks.
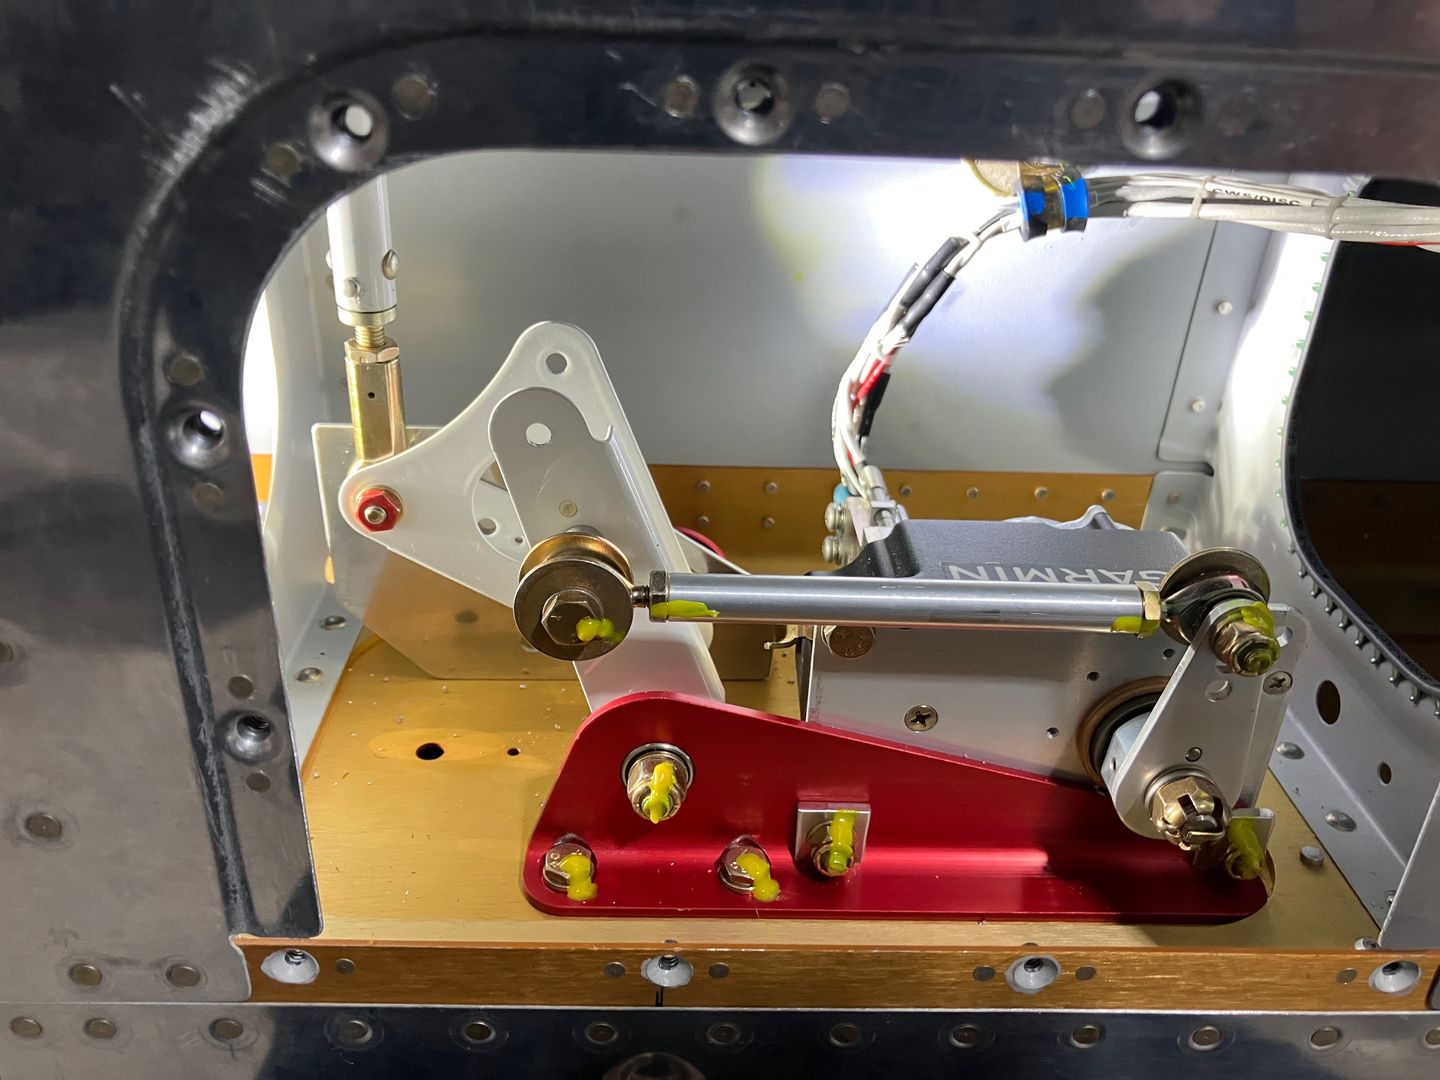
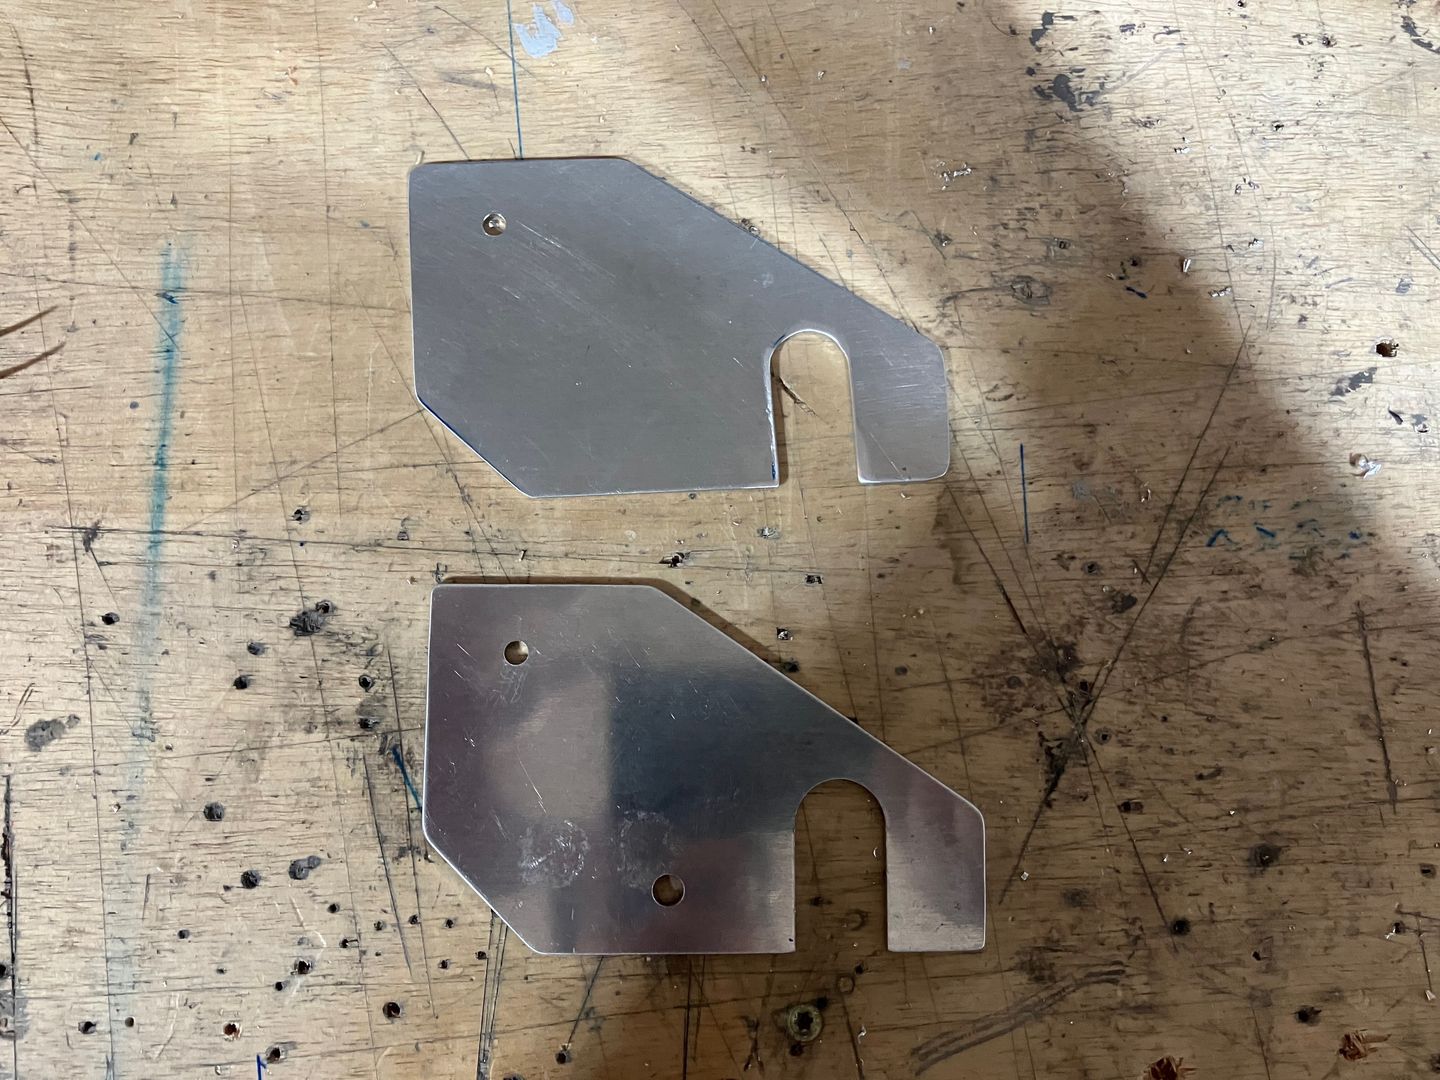
The aileron bellcranks from the kit use a bushing, a brass tube rotating inside the steel bellcranks. It works okay, but in my case, the bellcrank holes were not exactly round and straight, which created some extra friction in some orientations. One option was to sand the parts to make things turn more smoothly, but I decided to install aftermarket parts that use ball bearings.
It's a relatively straightforward replacement, with aluminum angles with ball bearings instead of steel brackets.
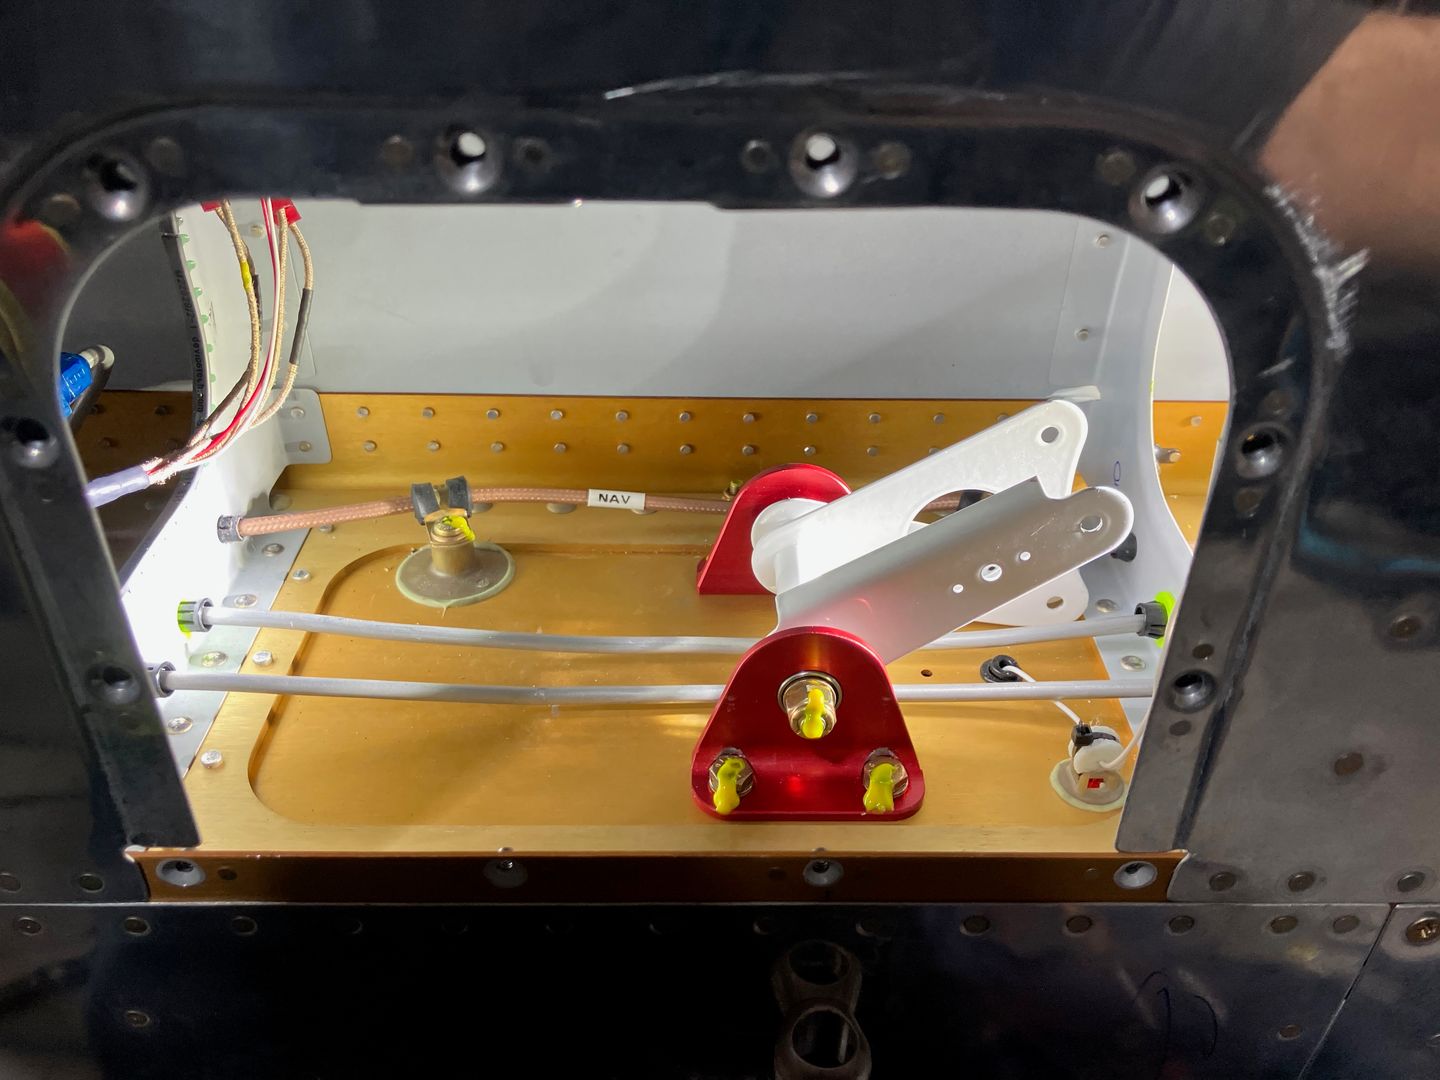
This is what it looks like in the right wing, with autopilot servo installed.
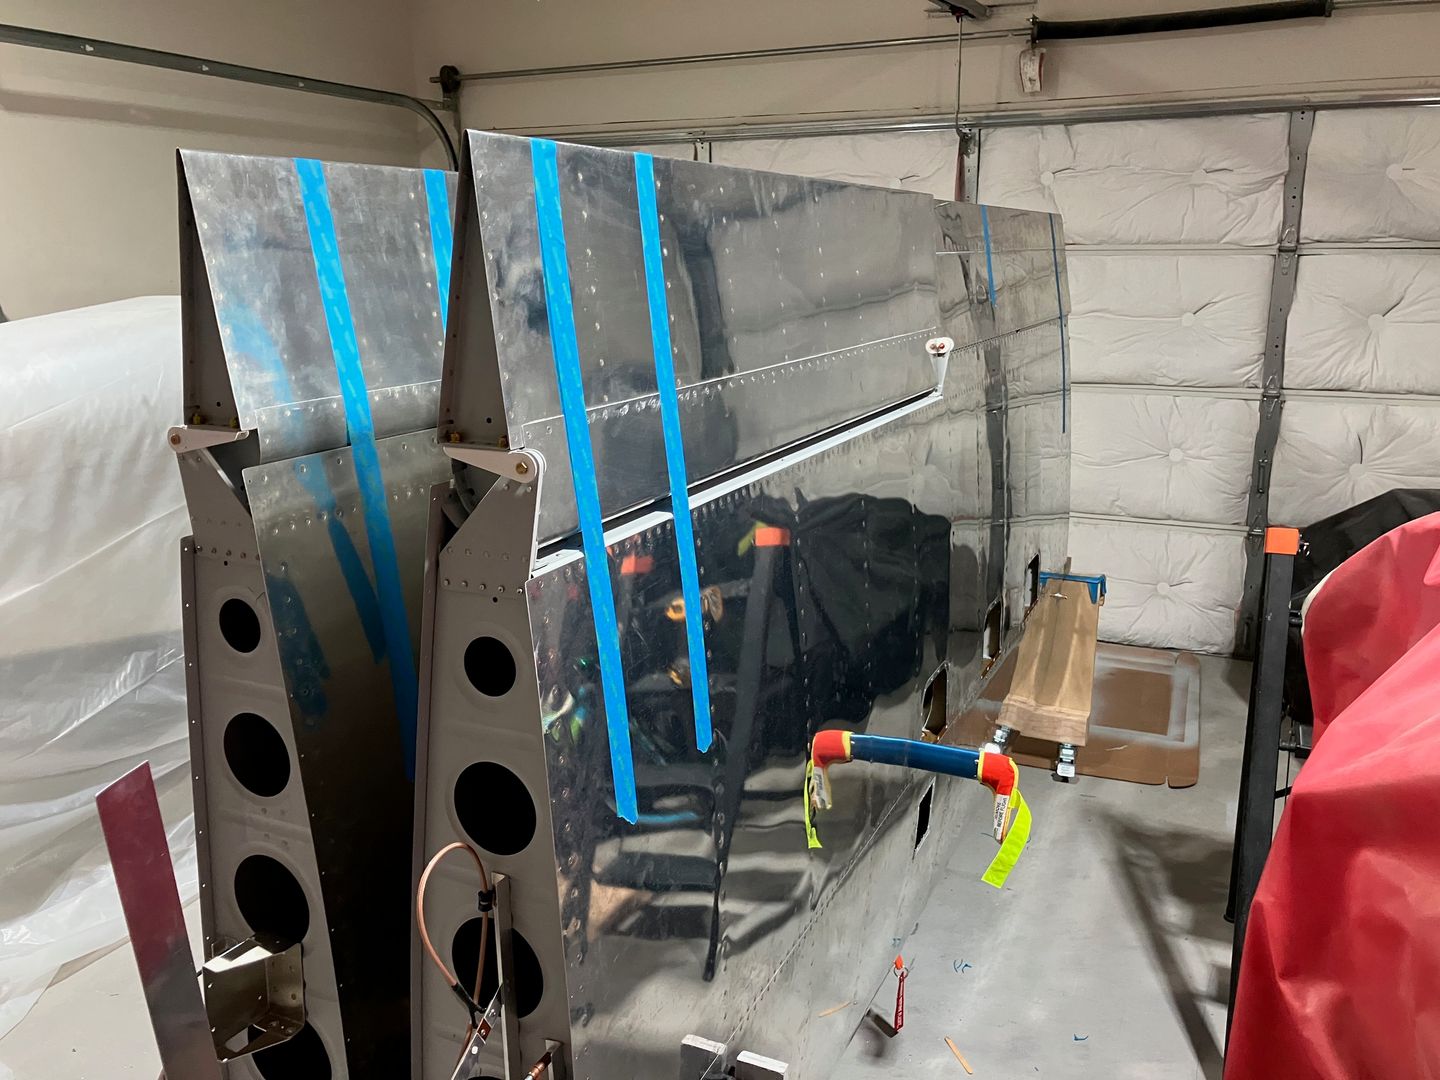
Both wings are mostly complete now.
Also, I did a few other smaller things.
I made a duplicate alignment tool so I can install it in both wings.
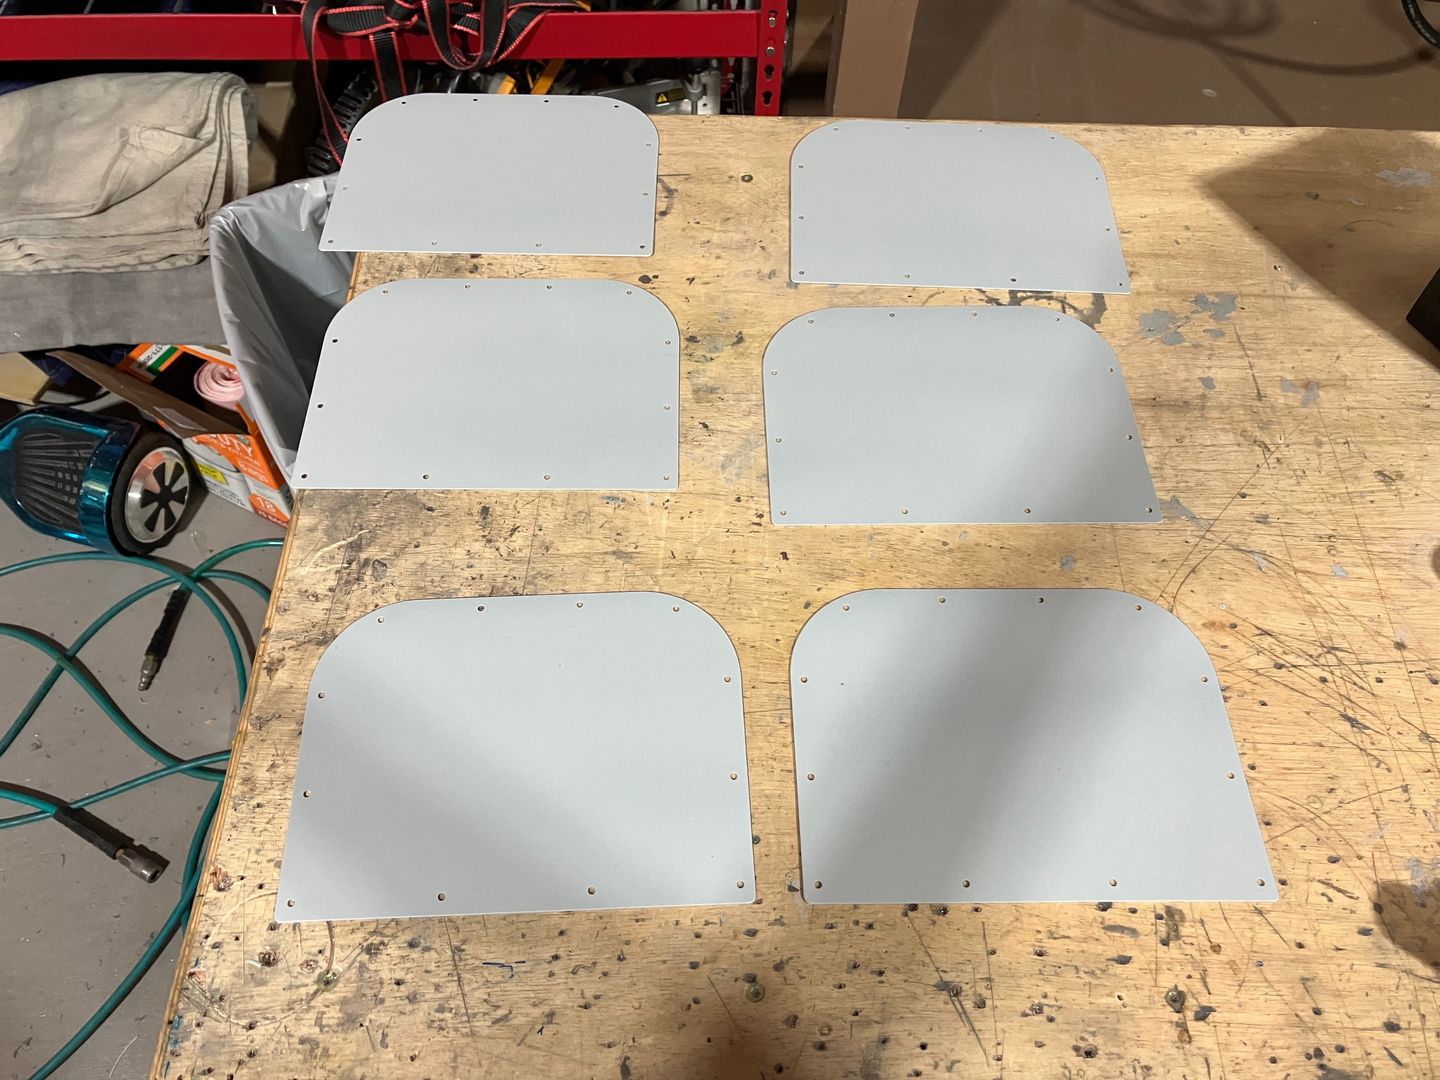
I also primed all the access covers so I can put them on the wings to prevent dust from getting inside.