Initial flaps work 1h
1h
June 28, 2025
Running out of things to do!
There are probably many things that I can still do (for example, deburr everything or even prime the skins), but seems like I am running out of things I can do from the beginning to the end! Today I looked at the electrical flap installation.
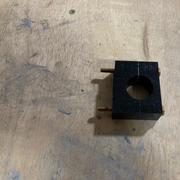
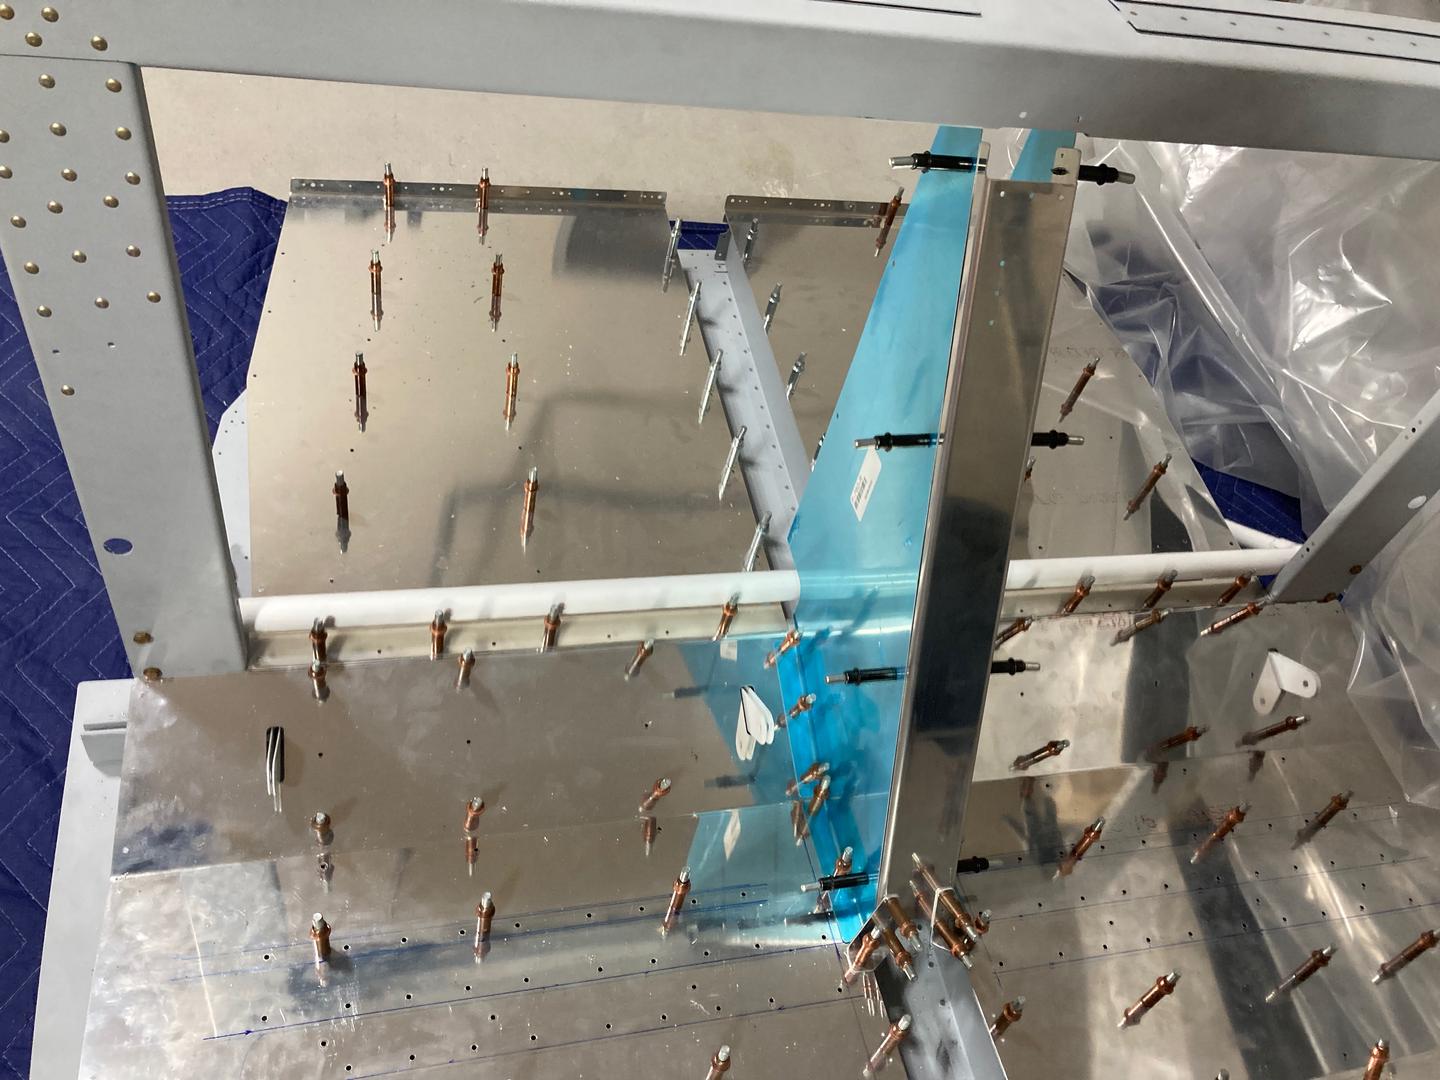
First, I put the flap actuator weldment into the bearing block. It fits well!
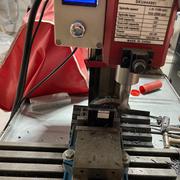
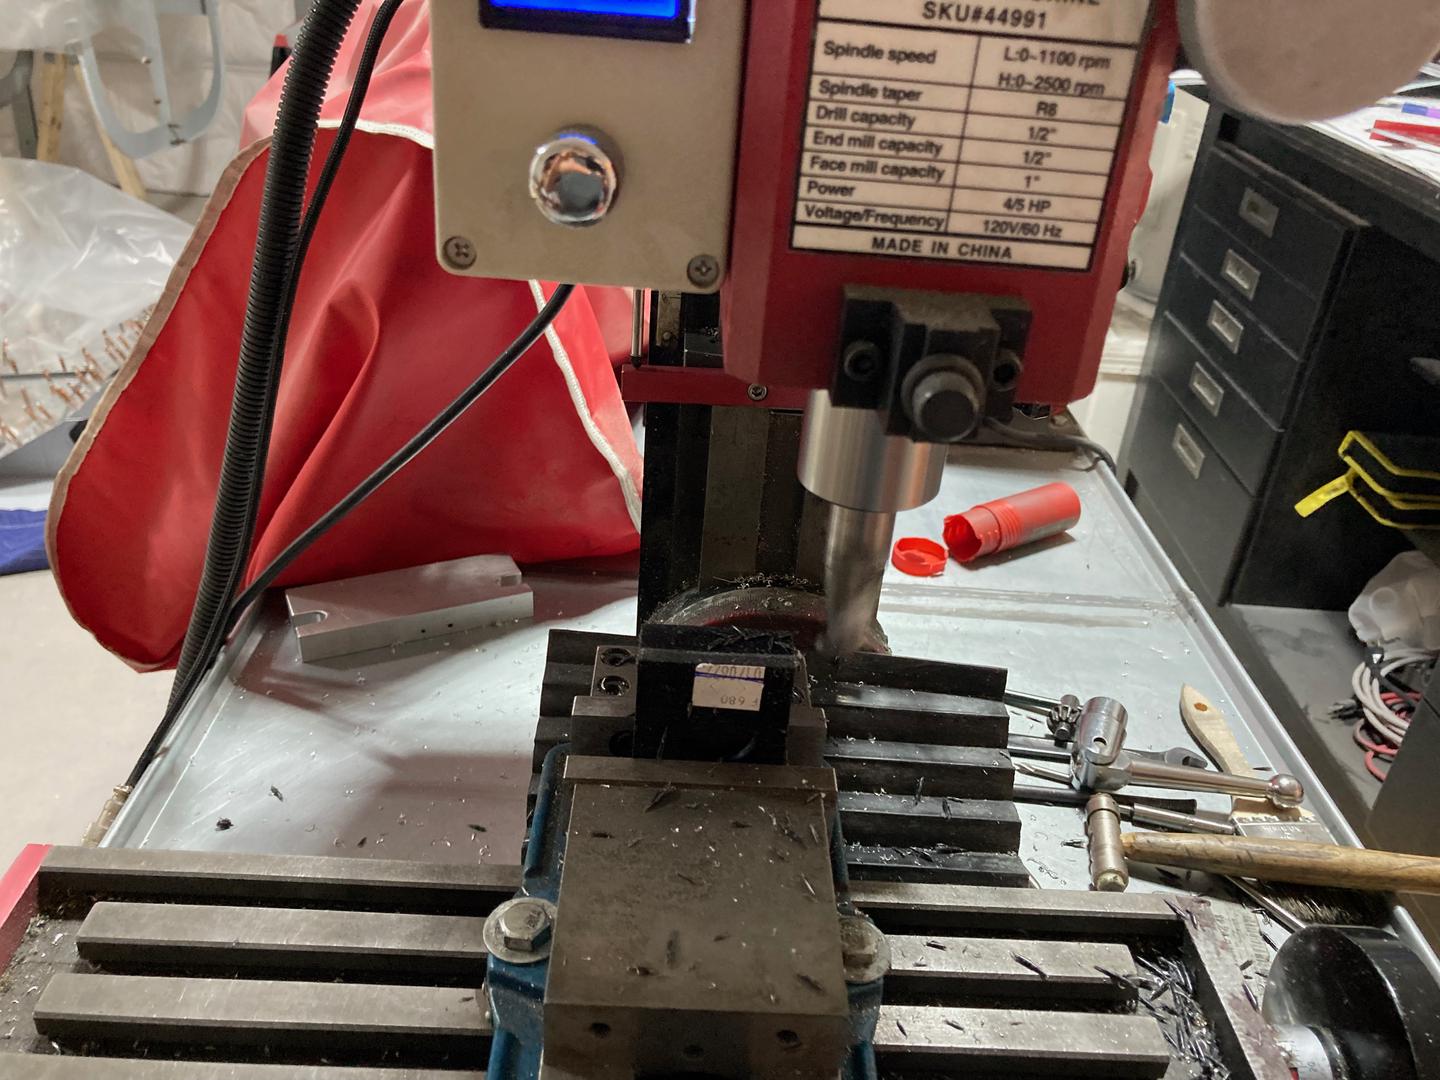
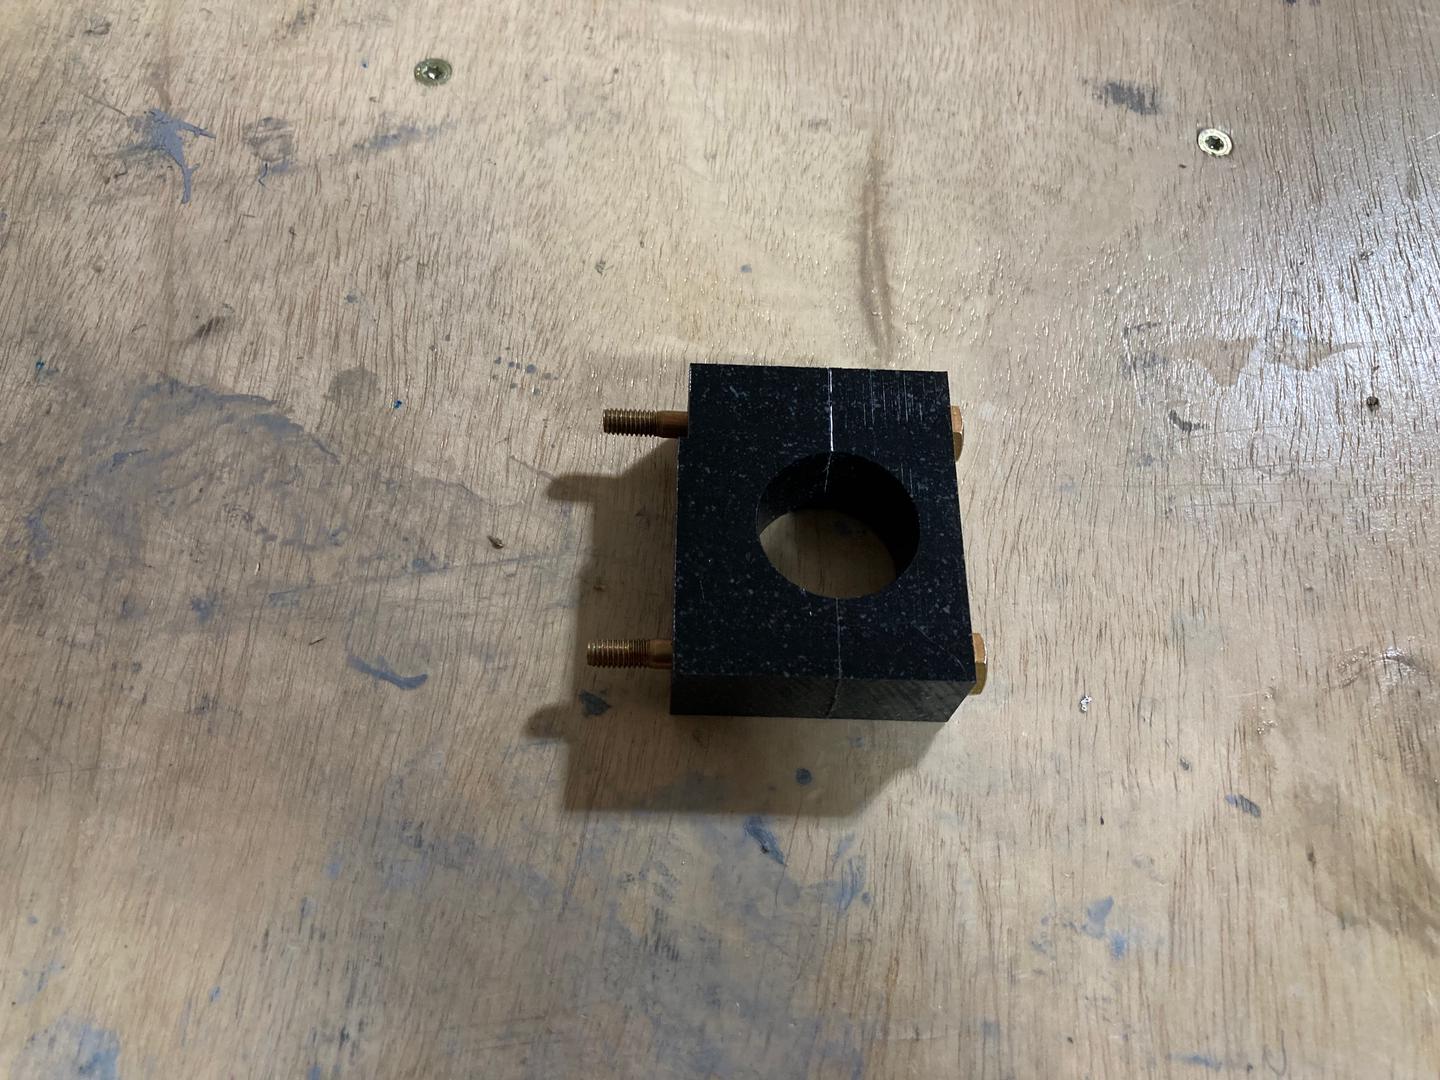
Then I machined the middle bearing block, drilled it, and split it into two parts.
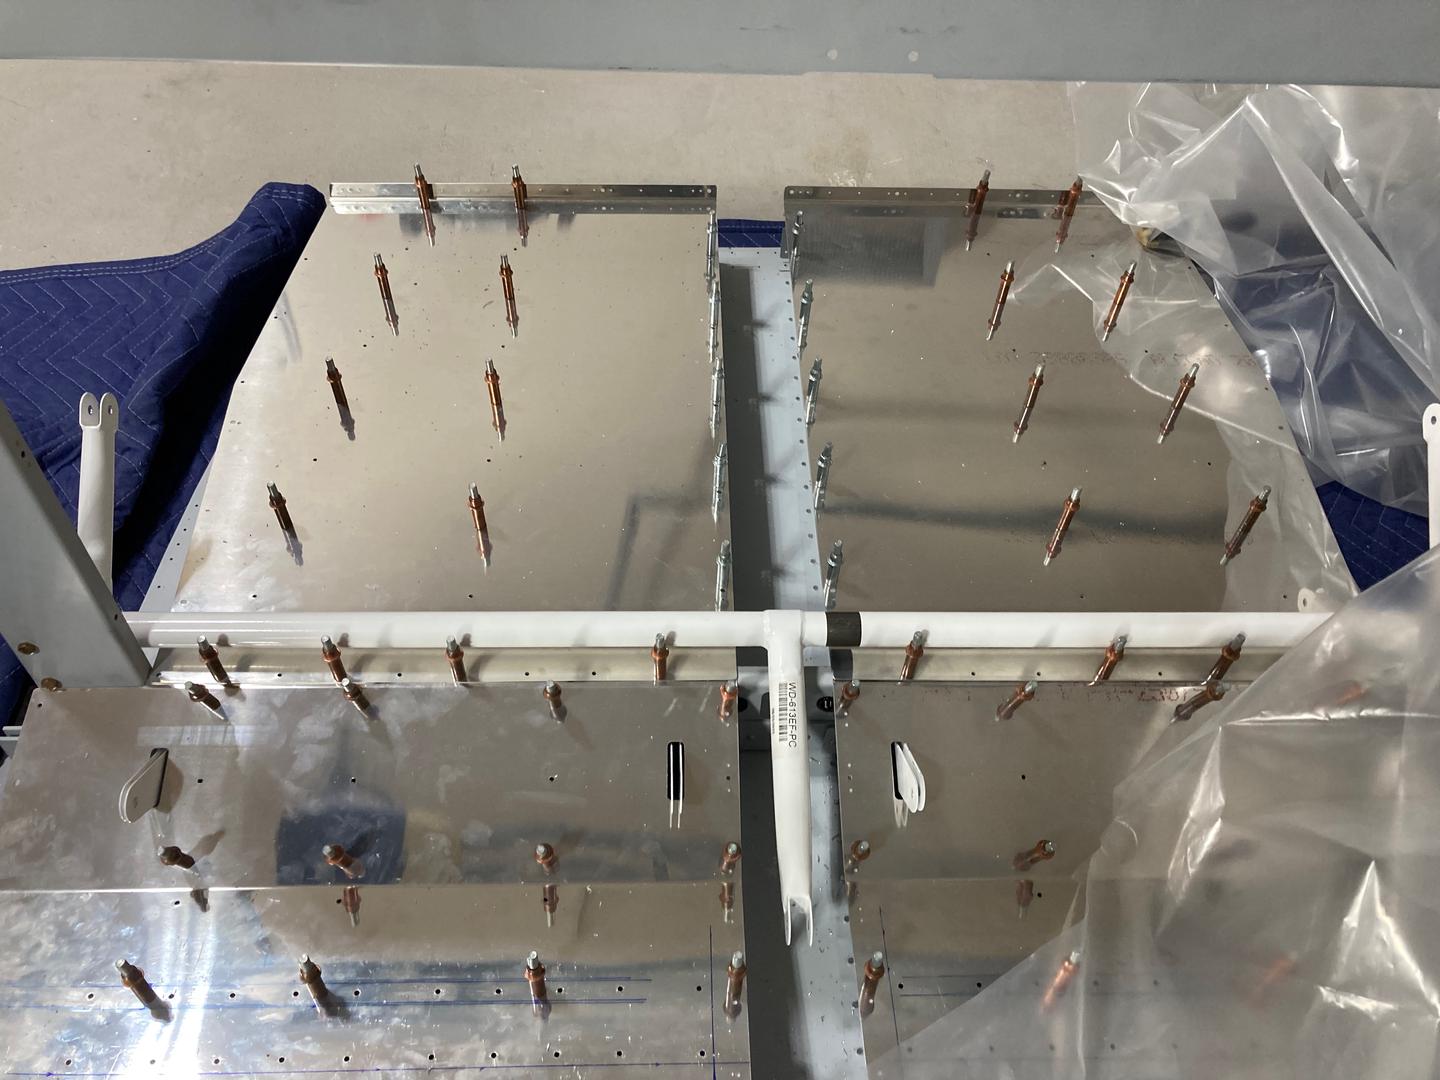
However, I cannot drill it to the floor because there is just too much flex in the F-705 bulkhead. I don't think I can put parts together until I put the side skins (which should add some rigidity and put the F-705 bulkhead into its correct place).
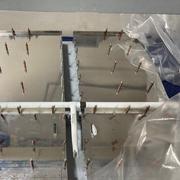
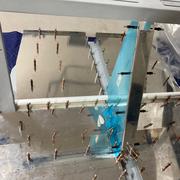
I clecoed the actuator channel just to see how it fits.
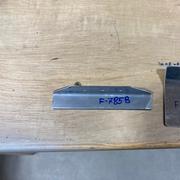
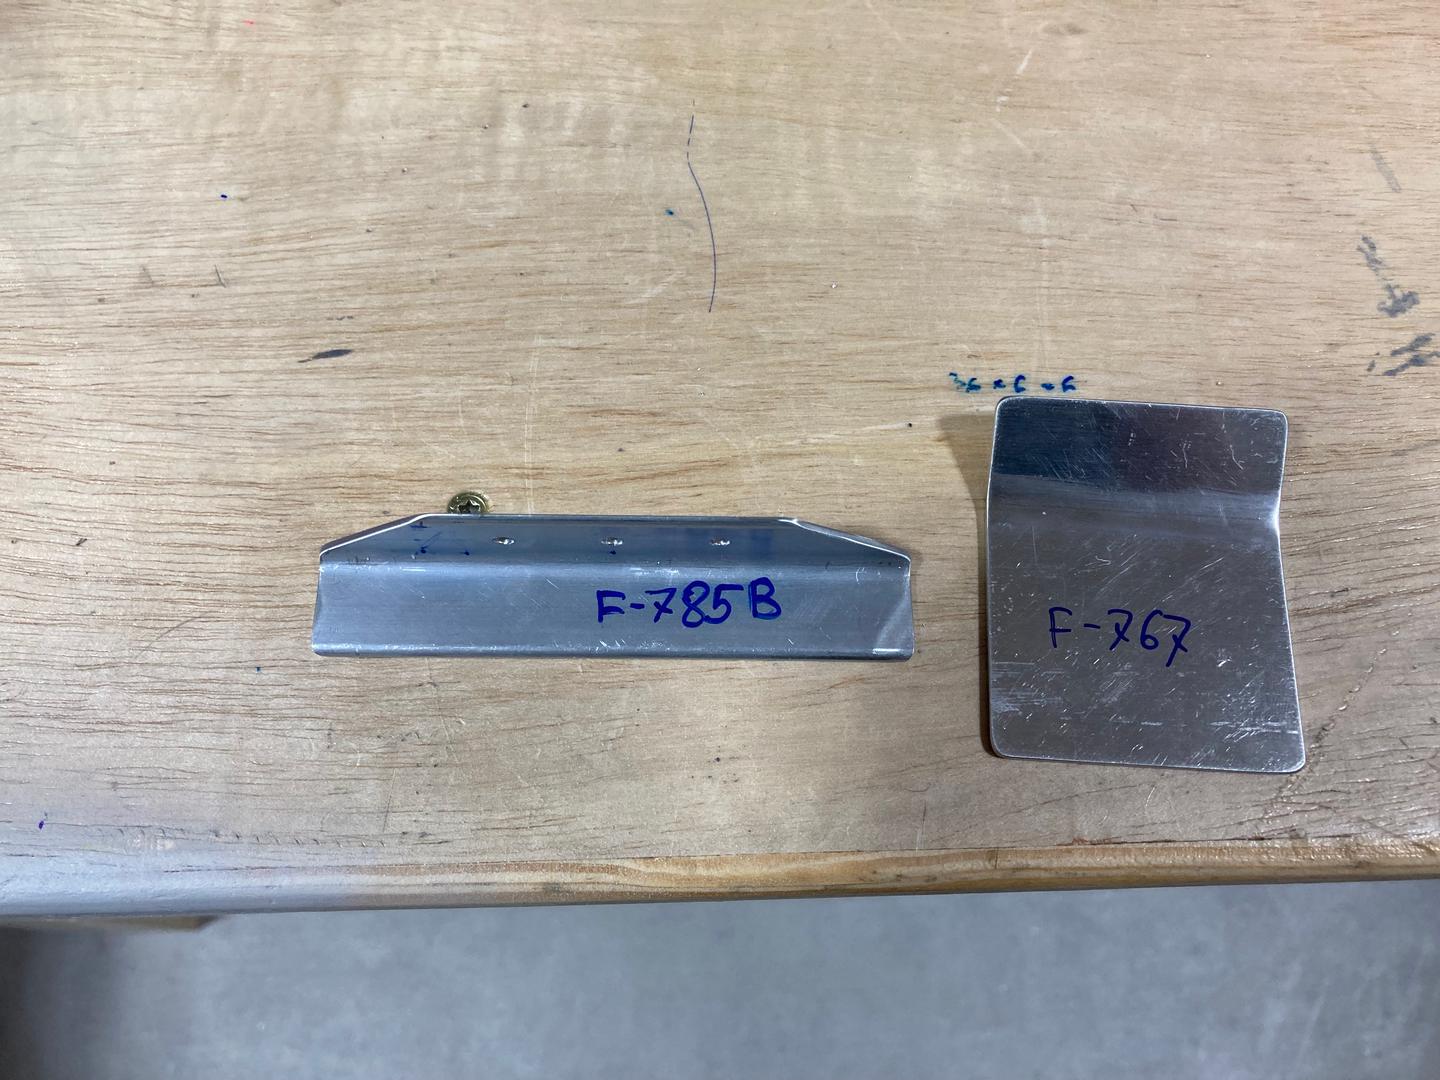
Then I fabricated two small parts, and that was the day.
Also, I ordered RV Max Flap Actuator. My primary motivation for this kit was that this actuator has internal stops and integral position sensors.
It is not a drop-in replacement, so I will need to fit it into the existing actuator channel. The stroke should be the same as Van's actuator (5"), but the minimum hole-to-hole distance seems to be 1-1/2" longer (11-3/4" compared to 10-1/4"). Maybe I'll be able to move it 1-1/2" higher. If not, should be possible to adjust via the flap pushrod links.
They also sell a retrofit kit which is nothing more than two aluminum angles and some hardware. Will see how it goes together for an RV-7.
