Hanging the flaps 3h
3h
October 5, 2025
Today I drilled the hinge for both of the flaps.
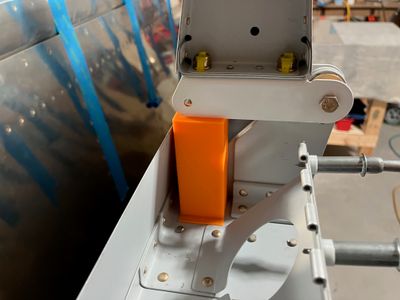
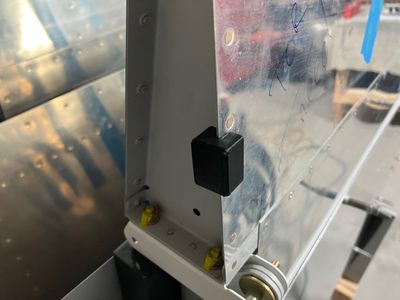
To set the flaps, the first step is to align the aileron in the trailing position. I used the method described in the plans -- a stick that aligns ailerons to the tooling holes on the wing tip rib, then printed a block that gives me exactly this alignment.
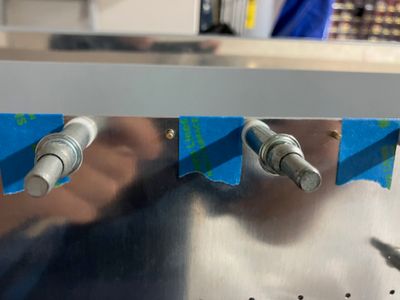
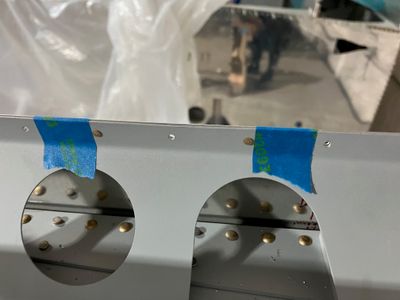
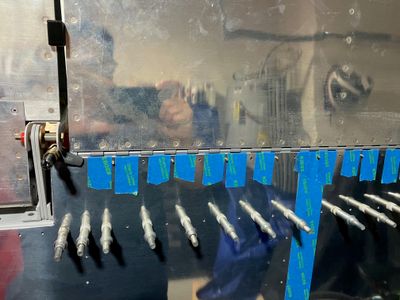
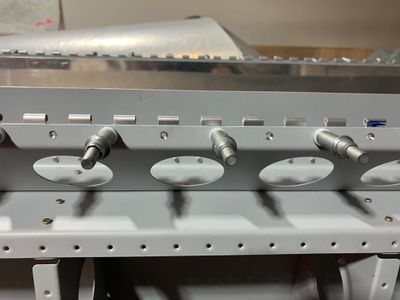
Then I use NAS1097AD3 rivets to align the holes on the flap brace with the holes on the skin. The idea is that the head size of these rivets is small enough that I can put them under the flap hinge.
A view from the opposite side.
I also printed some spacer blocks to give me 1/4" gap between the ailerons and the flaps.
Since it is not possible to clamp the skins to the flap braces, I used some painter's tape to tie them together.
I attached the flaps with just two cleco clamps holding them at the outboard and the inboard corners, and drilled every 4th hole on the hinges. With these holes drilled, I removed the alignment rivets and drilled the rest of the holes.
I did not take any photos, though.
Then I removed the skins and the flaps and countersinked the flap braces, 0.007" past flush. According to my calculations, this gives me pretty much exactly 0.040" countersink. Since it's exactly the thickness of W-721 flap brace, it produces a knife edge. To avoid enlarging the hole, I used flap hinge as a backing strip for the countersink pilot.
The end result.
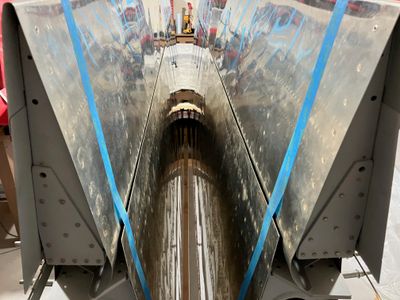
And with both of the flaps installed, I can see that I have some pretty serious ski-jump going on both of the wings. I have suspicion that this is due to dimpling of the rear spar -- when I dimpled them, I "unbent" the flange.
Ski-jumps like these were a common issue on some spars produced in the past, so there is an accepted solution for it -- create a special tool to bend the spar. I will work on that later.
