Assembling small pushrods 3h
3h
September 20, 2025
Continuing my work on the aileron pushrods.
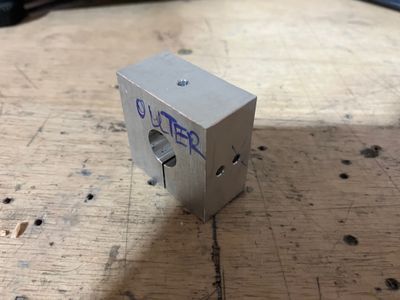
The plans offer two ways of assembling aileron pushrods: welding or riveting. I don't have a welder, so my choice was to drill the holes and use rivets. Since there are two intersecting rivets with two different edge distances (one is the end of the tube and the other is the end of the threaded rod), I designed a simple jig to help me with drilling the holes.
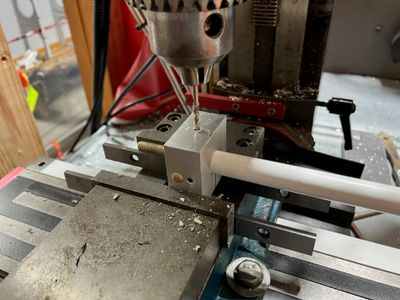
The jig is a simple drilling block with a slot. The tube inserted into the jig, flush to the "outside" side of the jig, is clamped in the vise, then the first hole is drilled. Then the part is rotated 90°, a rivet inserted through the "alignment" hole, and another hole is drilled. The offset between the "drilling" hole and the "alignment" hole is 0.150", slightly more than diameter of a rivet shank (0.125").
I changed the design of the jig while making it so there is one extra unused hole. If I was to design the jig again, I would make it so the tube can be clamped without removing the jig from the vise (maybe, by placing slot horizontally and using a screw to "clamp" the tubing). However, it worked fine even in the way I made it. Just a bit more time for each setup (because I would lose my X position on the mill).
Using the jig.
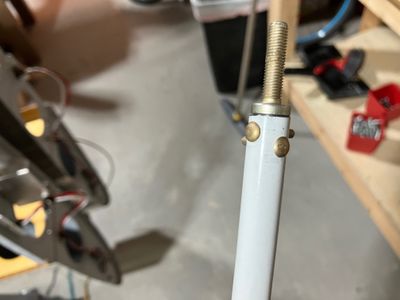
Here is the pushrod with two rivets inserted. Everything matched fine, and rivets don't interfere with each other.
I used slightly shorter rivets (AN470AD4-11 instead of AN470AD4-12) so the shop ends are small enough to pass through the rear spar hole without any interference. Also, I used a universal rivet die (for -3 rivet) to make the shop ends so they look neat and don't have edges that they can catch on.
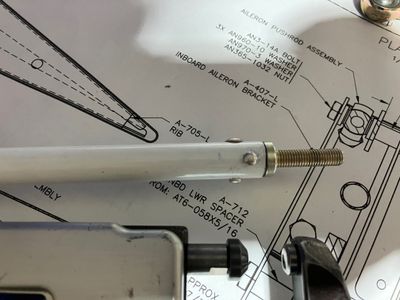
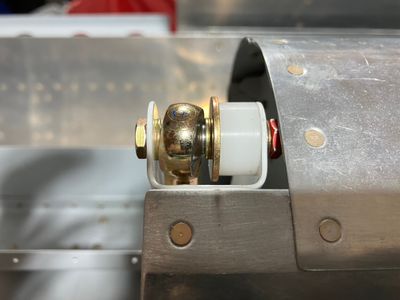
Of the smaller tasks, I put all the spacers on the ailerons to make sure they are of correct size. Here are the aileron stops.
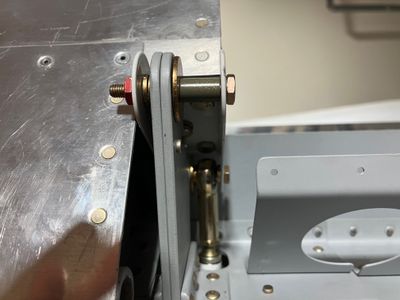
And here are the other aileron spacers.
