Working on the panel inserts 6h
6h
August 4, 2026
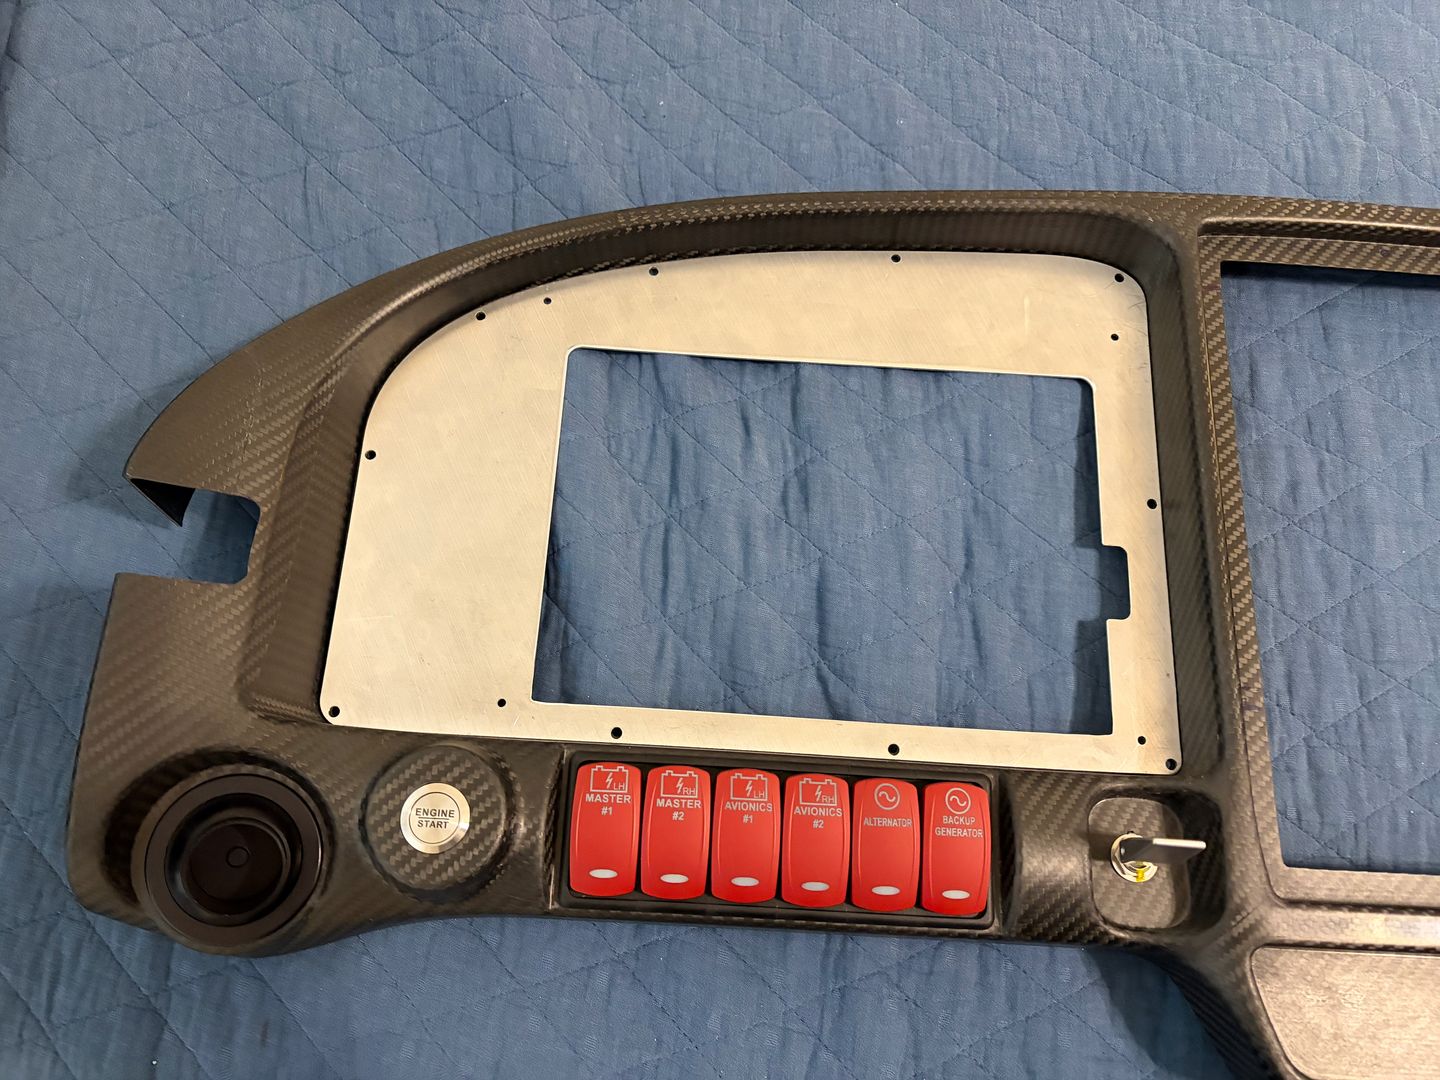
I worked a bit more on the panel and its inserts.
I got all the Contura switches I wanted, with their custom covers.
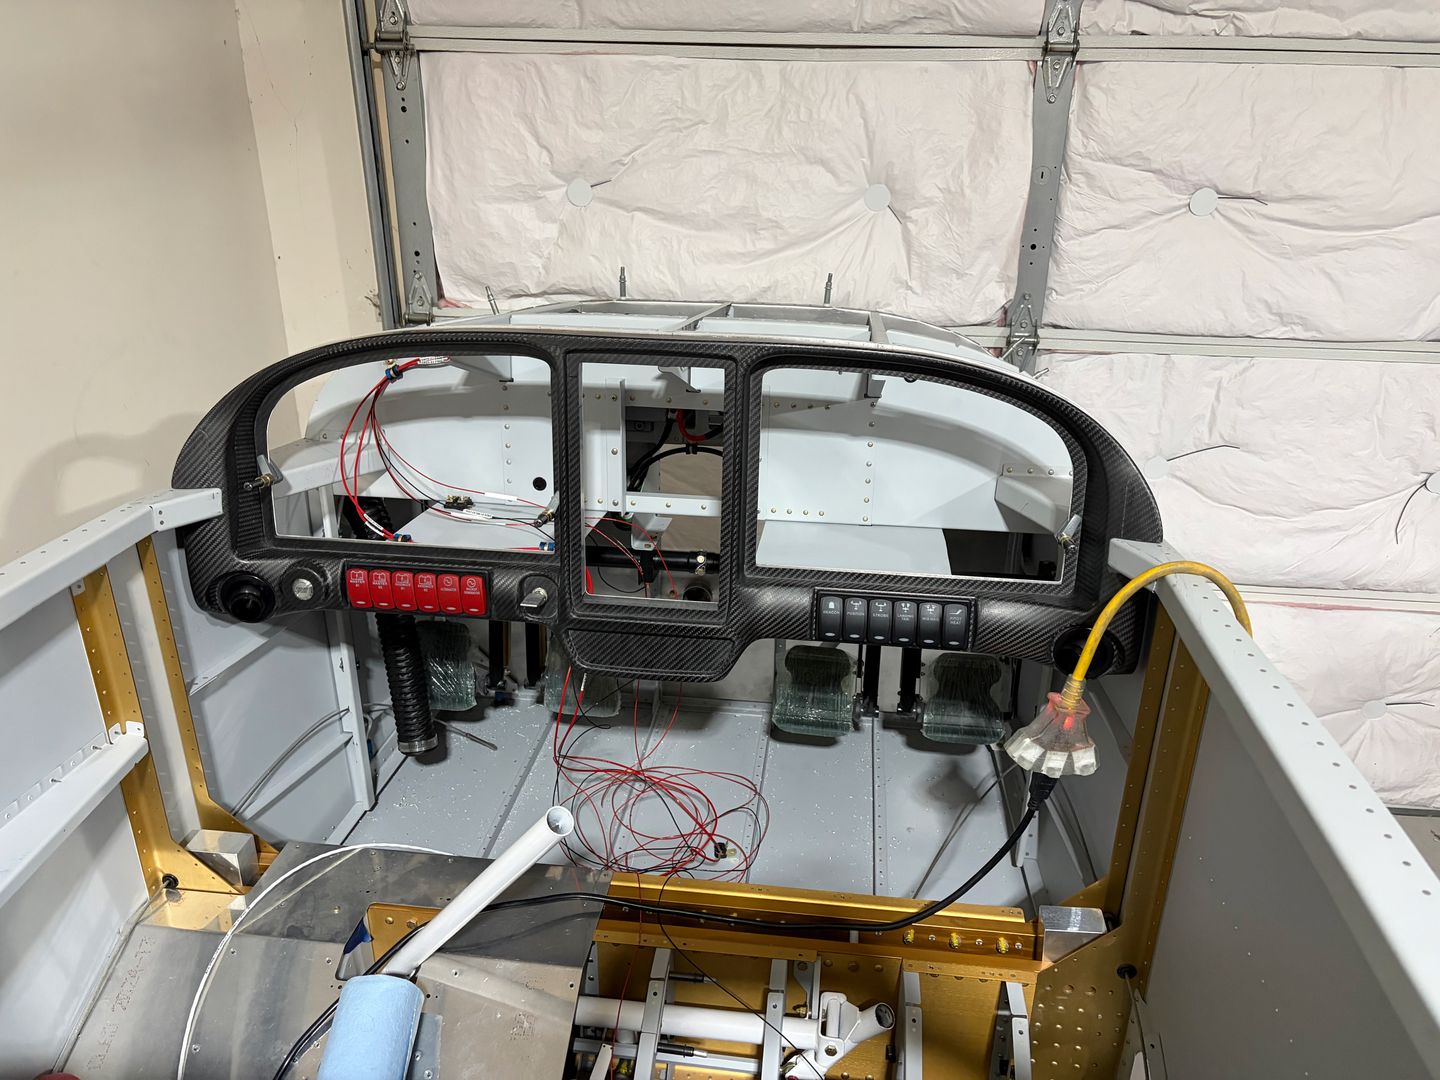
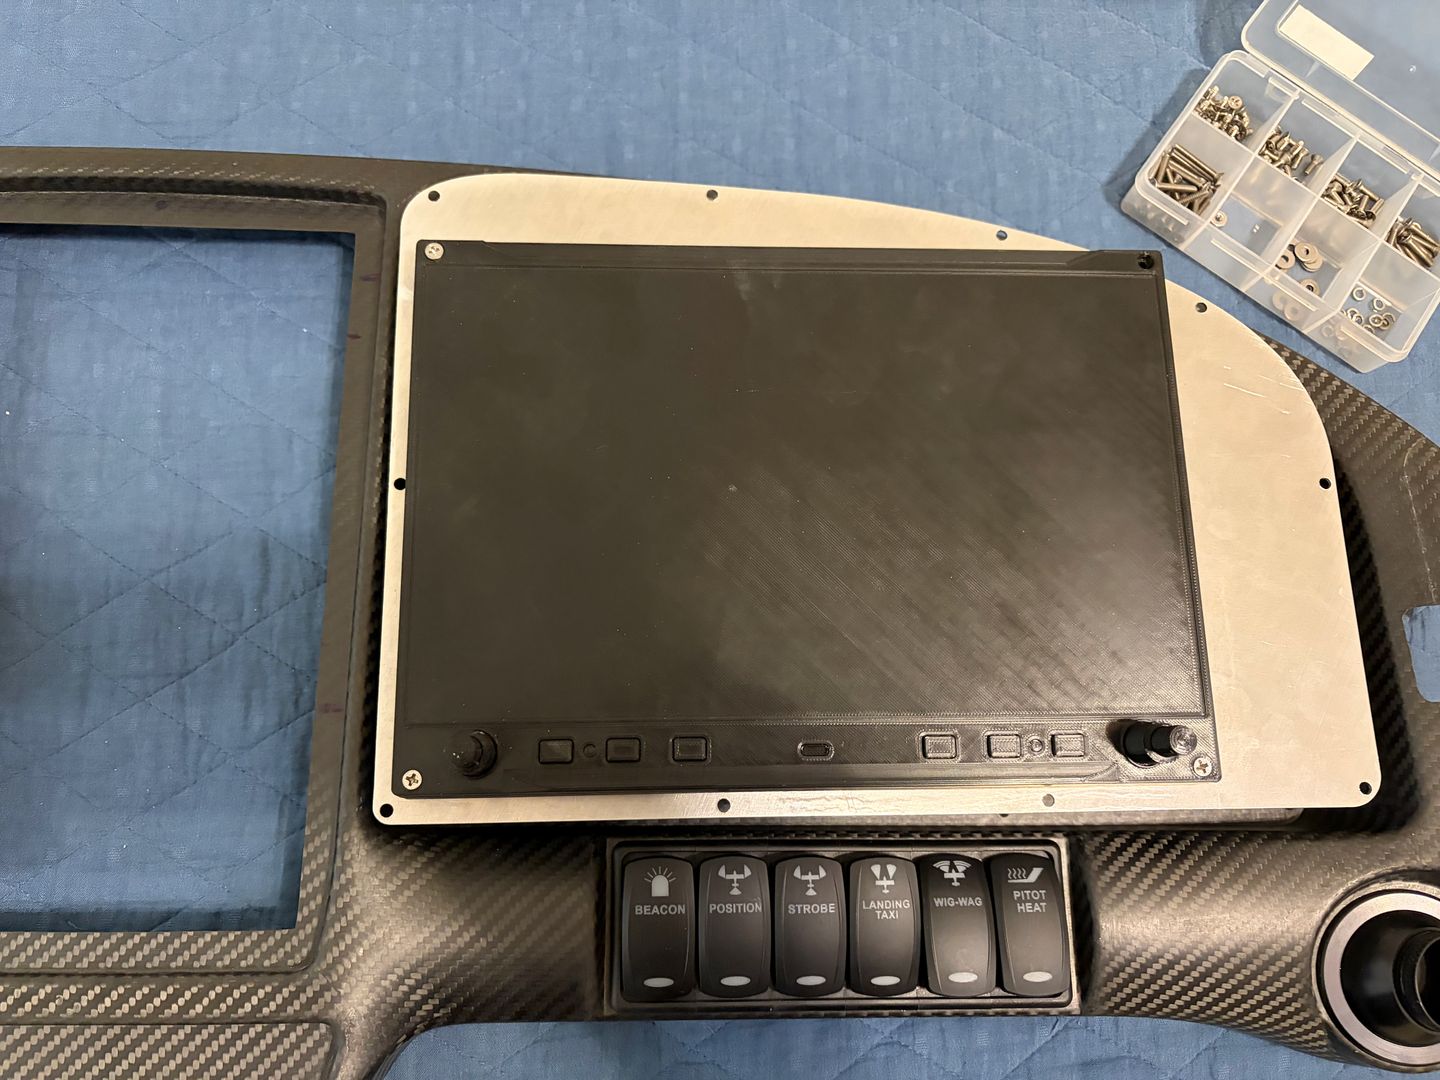
The goal was to cut openings in my existing panel inserts for the Garmin Axis. I could have ordered them from one of the manufacturing services, but since I had blanks already (which I did order from OSH Cut), I thought it would be easier to just cut holes in them. Besides, I wasn't sure of the exact location I wanted to put the Garmin Axis, and cutting openings manually gives me more flexibility.
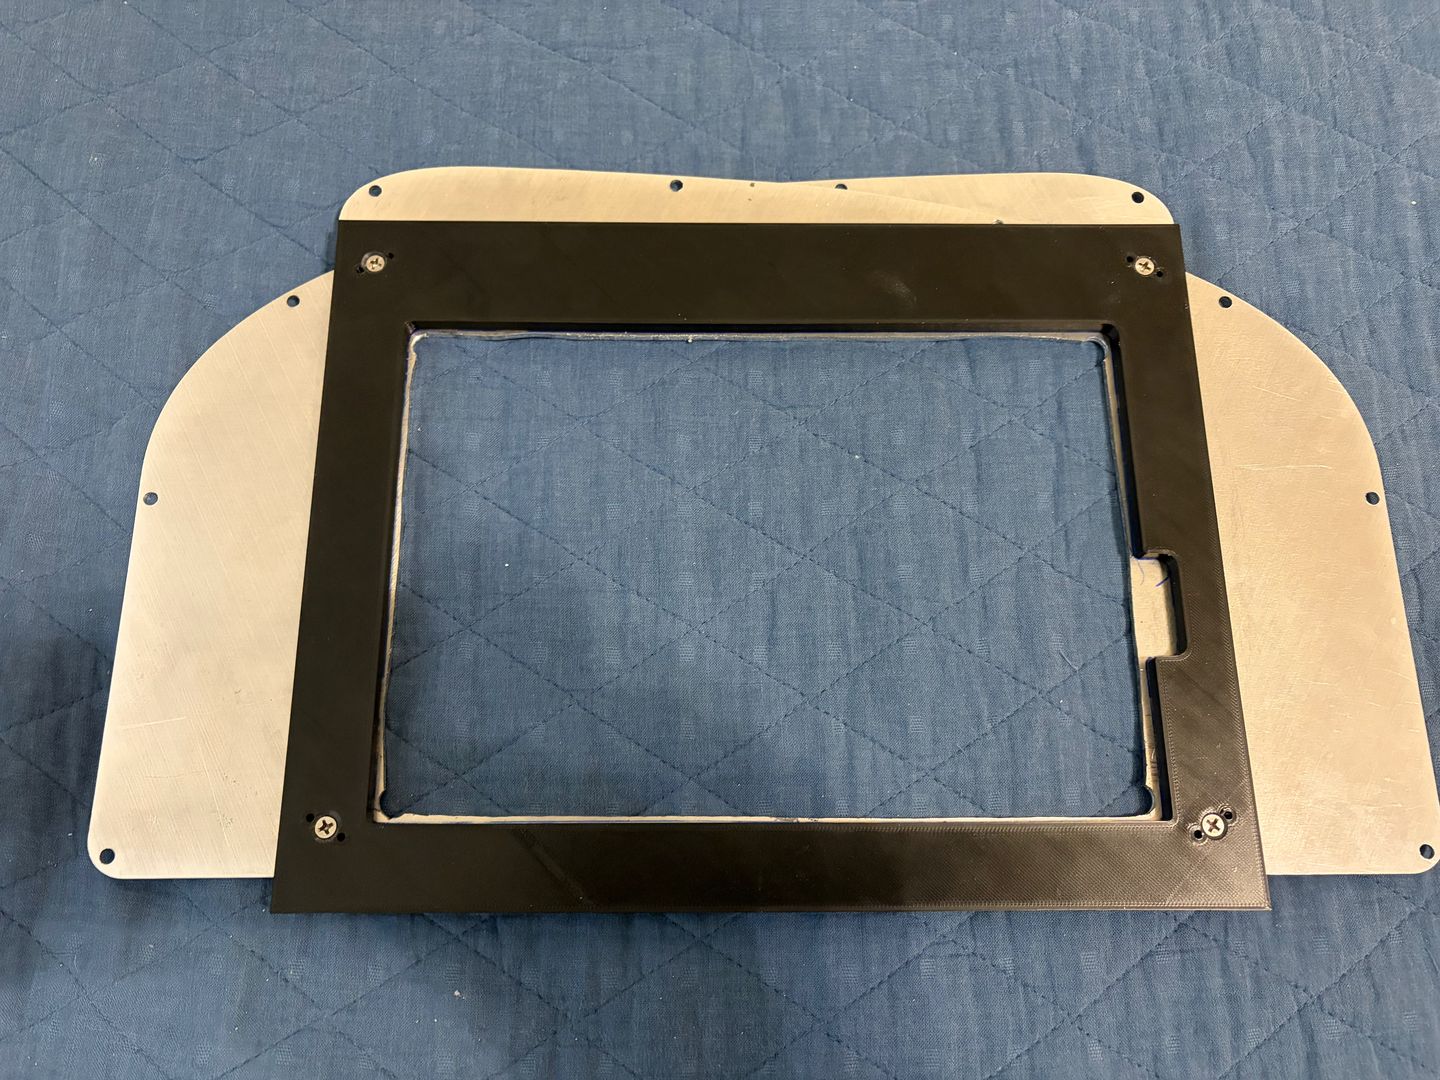
The first step was to model the opening for the display, and 3D print it. This will be used to locate the screen (the template outer dimensions are the same as the screen) and then to trim the edges of the opening.
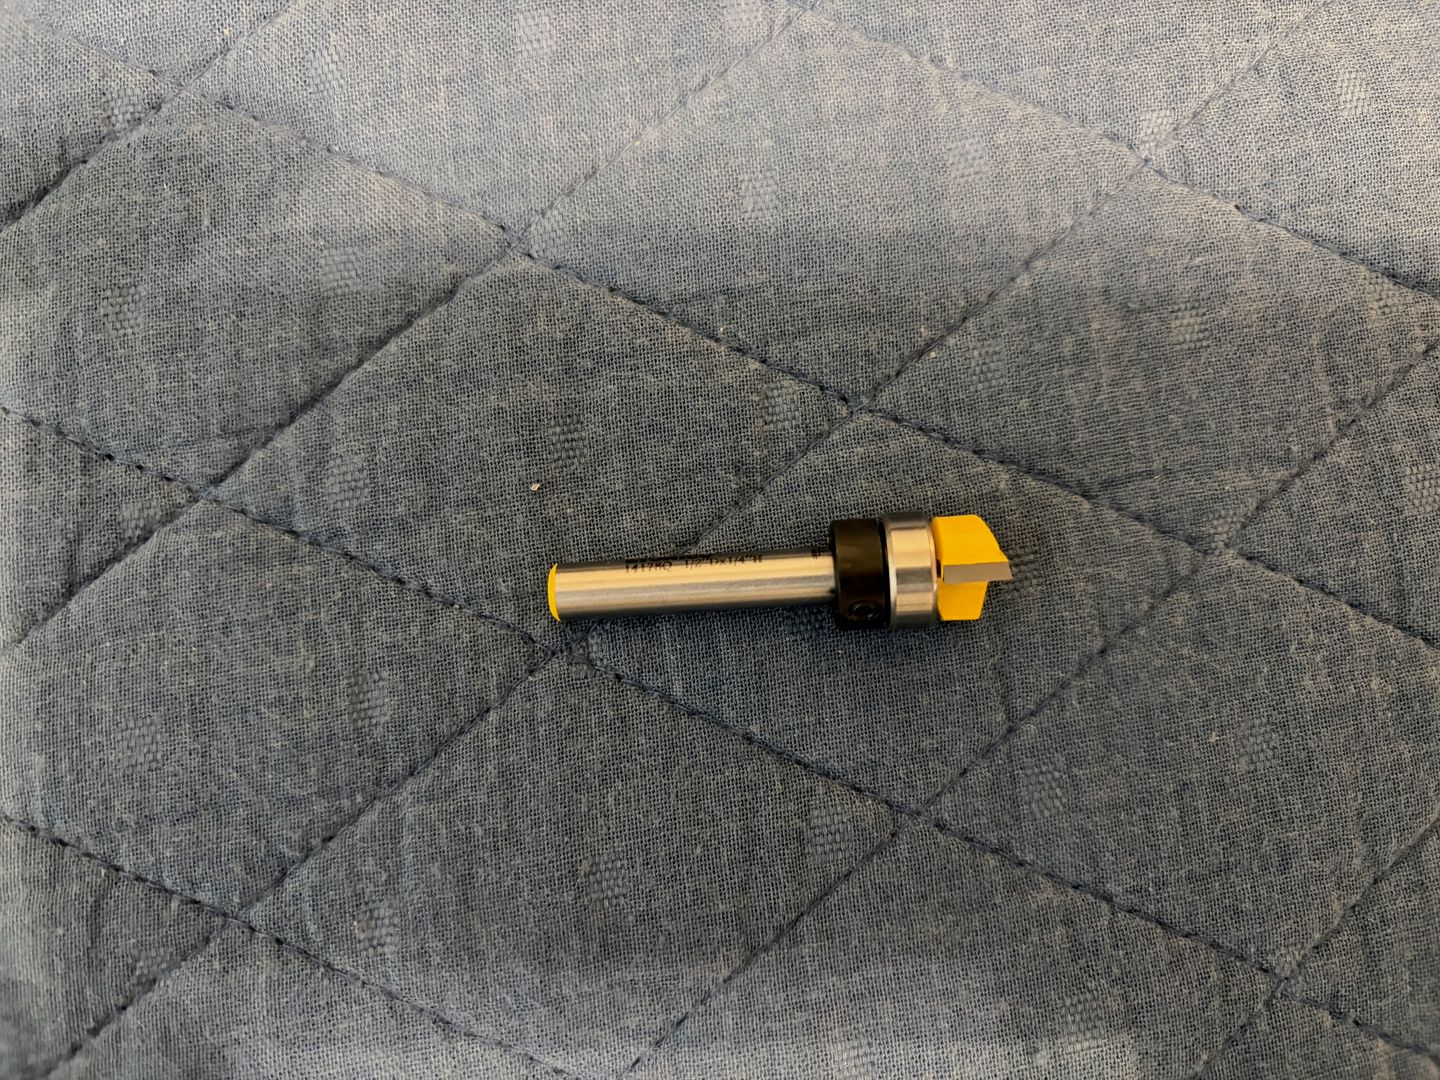
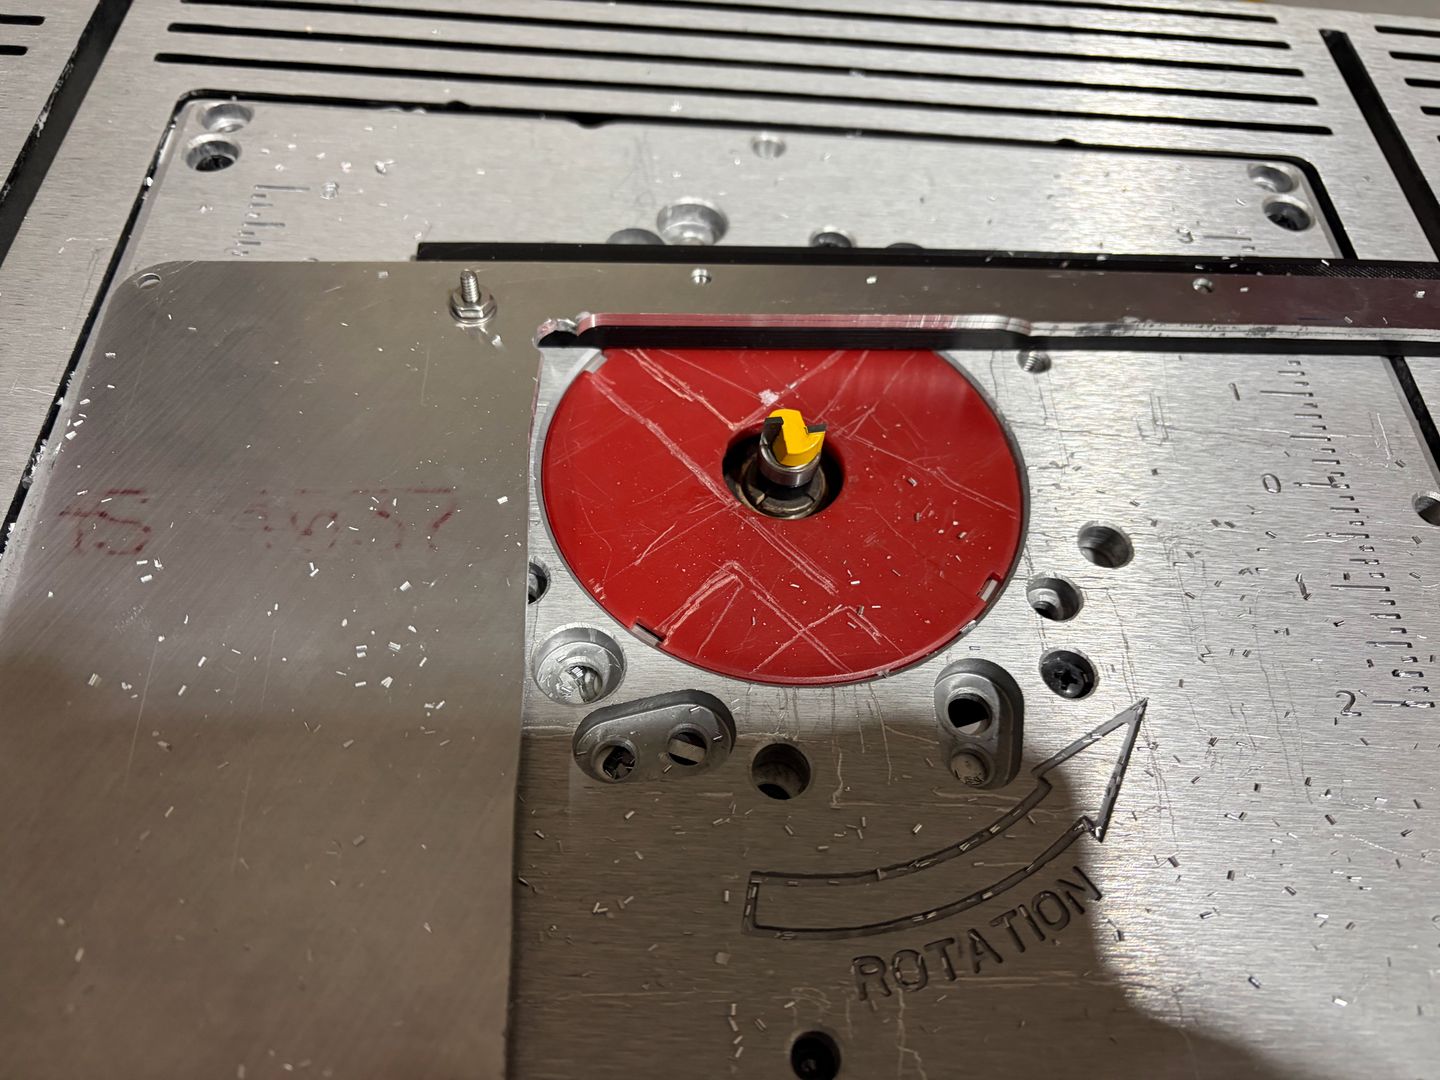
To trim the edges, I bought a new cheap carbide wooden bit. I had a different bit already, but the one I had had a ball bearing on the top. With the bearing on top, the template goes on top as well, and it becomes a bit tricky to manage the whole "sandwich" -- the side that goes against the router table must be flat, and if it is an aluminum blank, it limits the options (I guess, since I haven't tried gluing the template).
With the bearing on the bottom, I can use countersunk screws in the template.
Also, I wanted a smaller bit -- just in case. The less cutter exposed, the better!
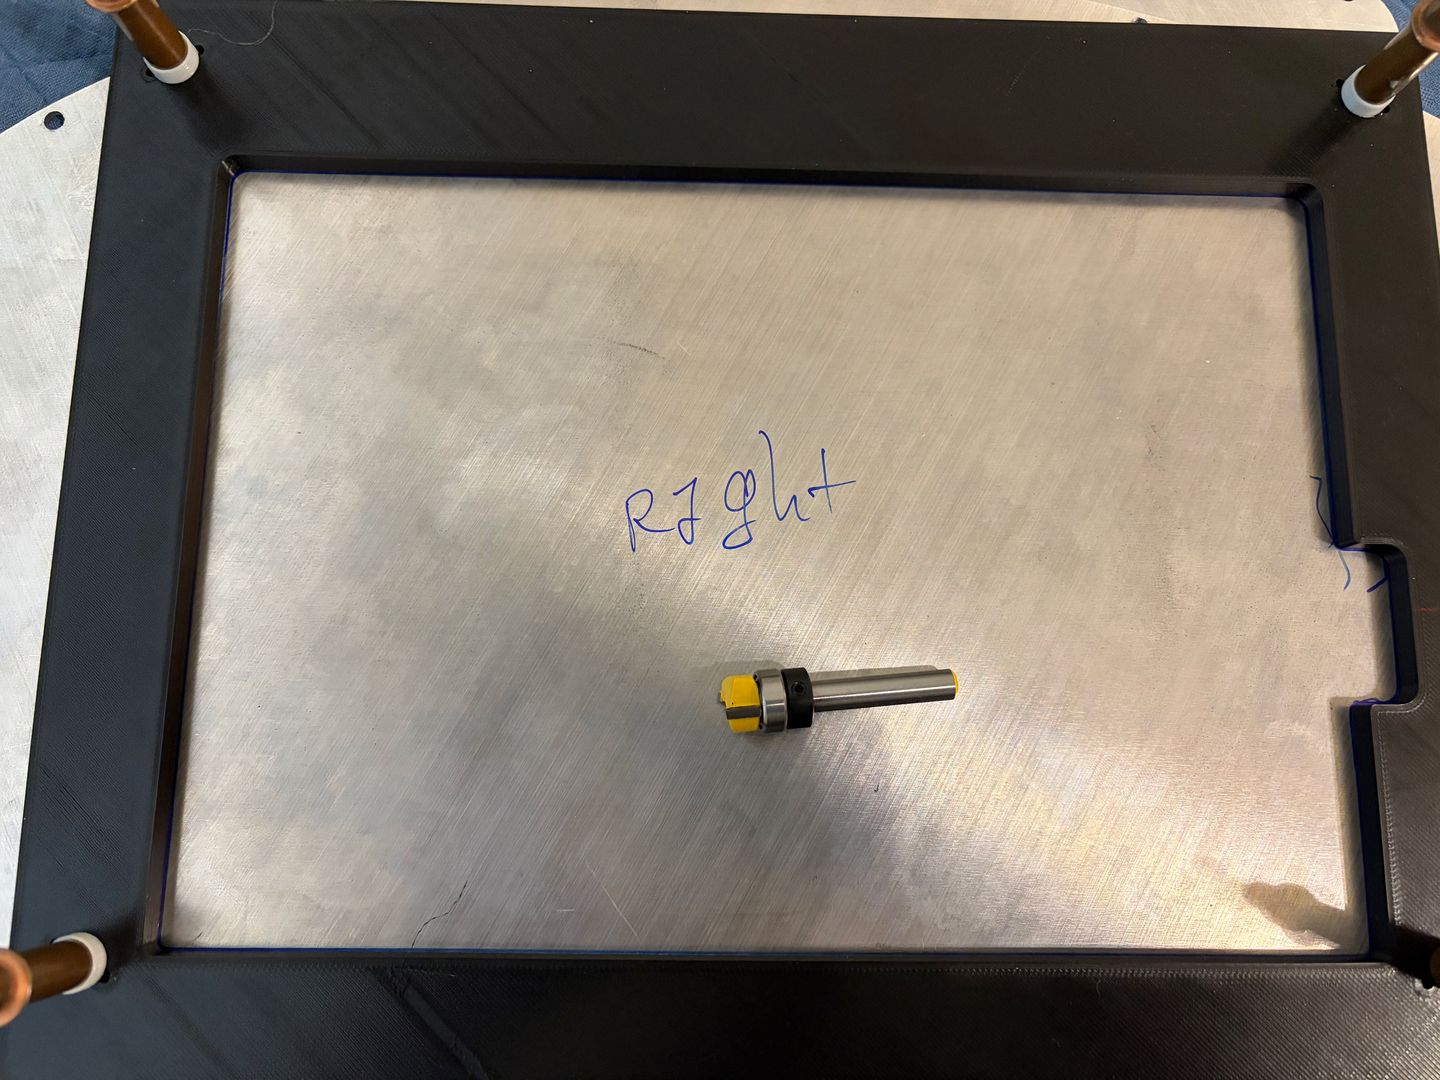
Then I cut the rough opening (as before -- I drilled the holes, then cut the openings with a jigsaw). And you can see my countersunk #6-32 screws attaching the template to the blanks (to cut two openings at the same time).
The router table setup is simple, just a bit sticking above the table. Aluminum machines on the router similar to hardwoods, with some slight differences. The key is to never allow it to climb cut (or you can get a projectile!) and to plunge very carefully (if plunged too much, it starts chattering, and can potentially start climb milling). But otherwise, it's a pretty docile process.
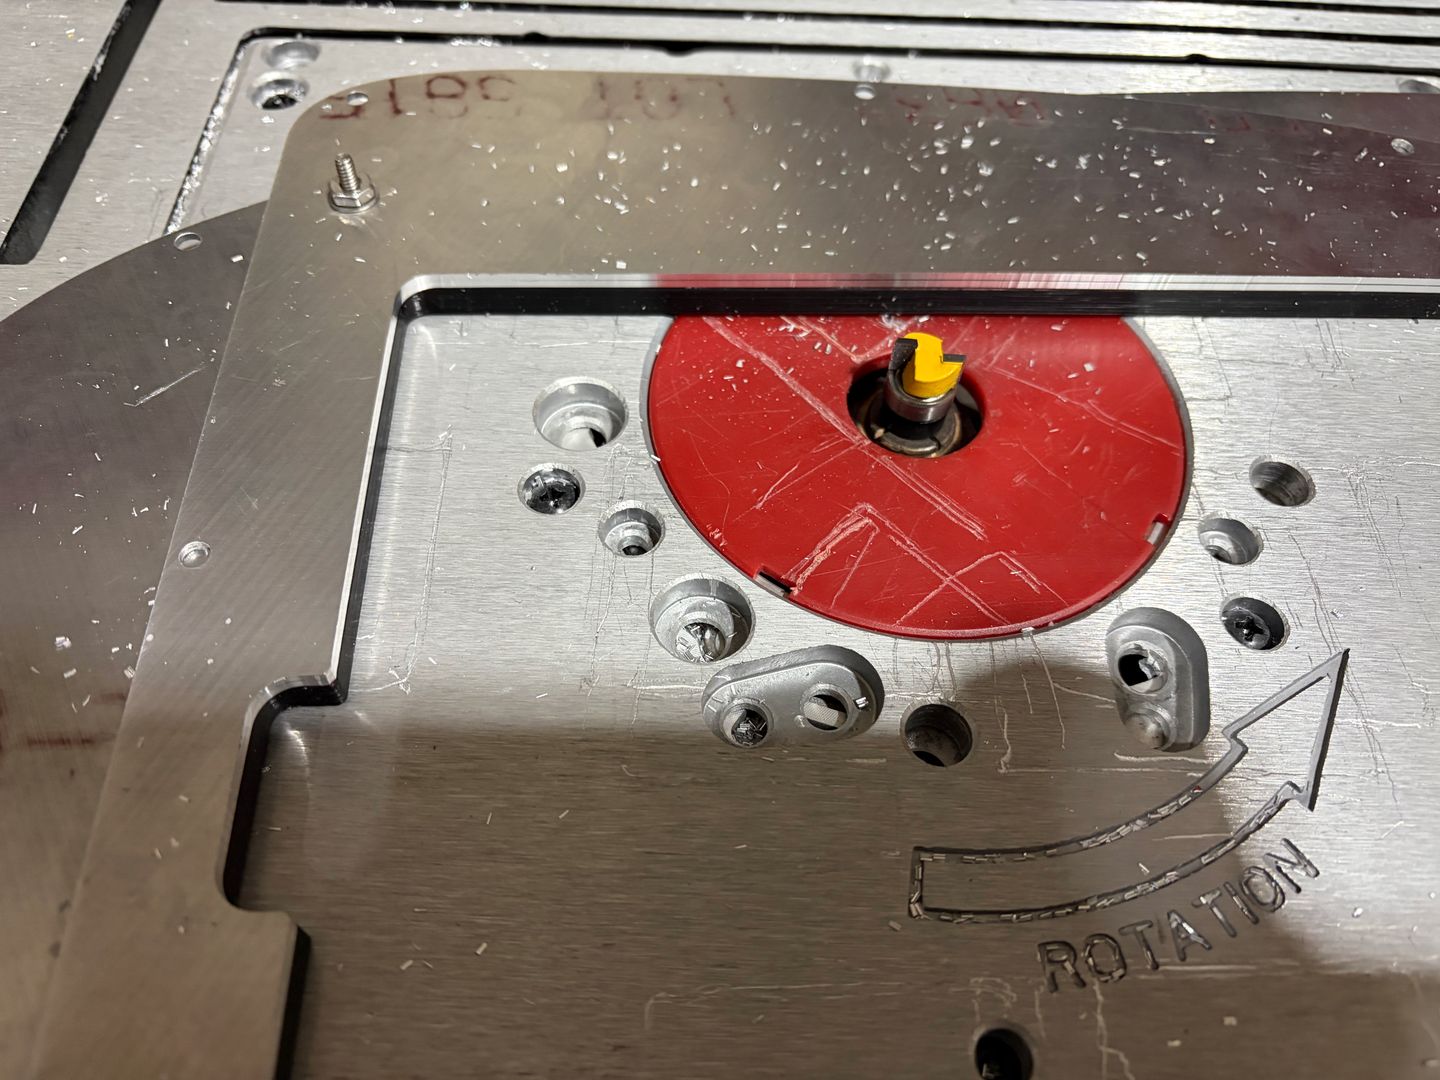
The end result. The edges have a few chatter marks (probably because the template is not very rigid -- it's PLA plastic), but they are otherwise pretty smooth.
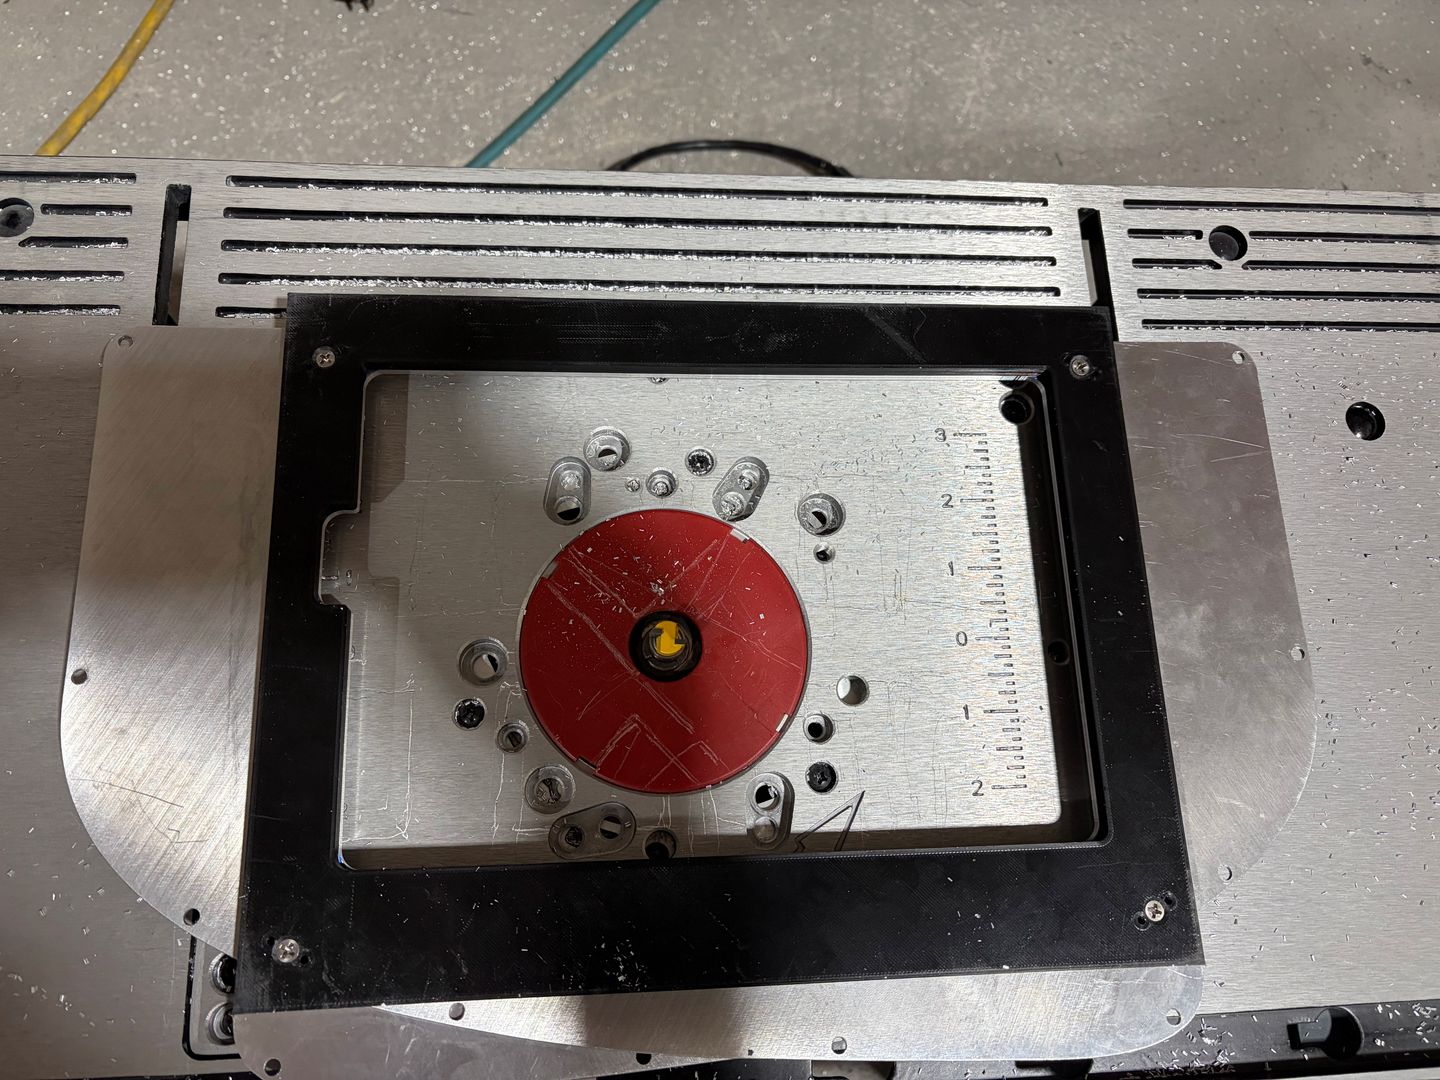
Here is the view from the bottom of the "sandwich". Note that because of the cutter radius, I wasn't able to cut some tight corners -- I used a file to finish them.
The final product.
And with the mock Garmin Axis display inserted.